This guide walks you through setting up Passport Prime with manual backups. Unlike the default Magic Backup setup, with this manual setup, your Master Key is split across all three physical Keycards with no data stored on Envoy or your personal cloud account. This setup is for advanced users who prefer full, self-sovereign control over their backup strategy with zero cloud support.
Users who would prefer the simpler Magic Backup approach should follow the setup guide on this page .
If you have any questions, please email us at hello@foundation.xyz
Step 1: Unboxing
Let’s unbox your Passport Prime!
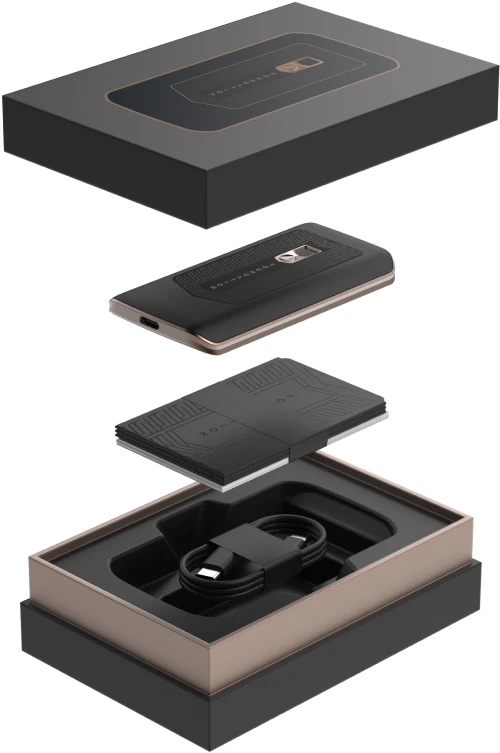
Prime ships in a plain outer overpack box.
The device box is sealed with a layer of adhesive bubble wrap followed by a layer of shrink wrap. It contains:
- Passport Prime
- Setup card
- 3x NFC Keycards + Faraday sleeves
- USB-C charge cable
Should your packaging or device appear in any way tampered with, do not hesitate to contact us with any questions or concerns. hello@foundation.xyz
Please note that we cannot prevent customs officials in your jurisdiction from opening your package to inspect the contents. This is why we also build in a software based security check that is able to detect physical device tampering.
Step 2: Envoy
If you don’t already have Envoy installed, download it. Before scanning any QR code on Passport Prime, open Envoy, tap the ‘advanced’ button in the top right and turn off Magic Backups.
If you do already have Envoy installed and are using the mobile wallet with Magic Backups, the easiest approach is to continue with the easier Magic Setup .
There are a number of different paths a user can take care depending on their current status. We plan to simplify this by allowing more granularity on backup control in the near future, but for now the simplest approach is to delete any existing mobile wallet with Magic Backup, (ensuring you have a robust backup in place before doing so), erasing Envoy from your phone and then re-download the app from the app store. After re-install and before scanning any QR code on Passport Prime, open Envoy, tap the ‘advanced’ button in the top right and turn off Magic Backups.
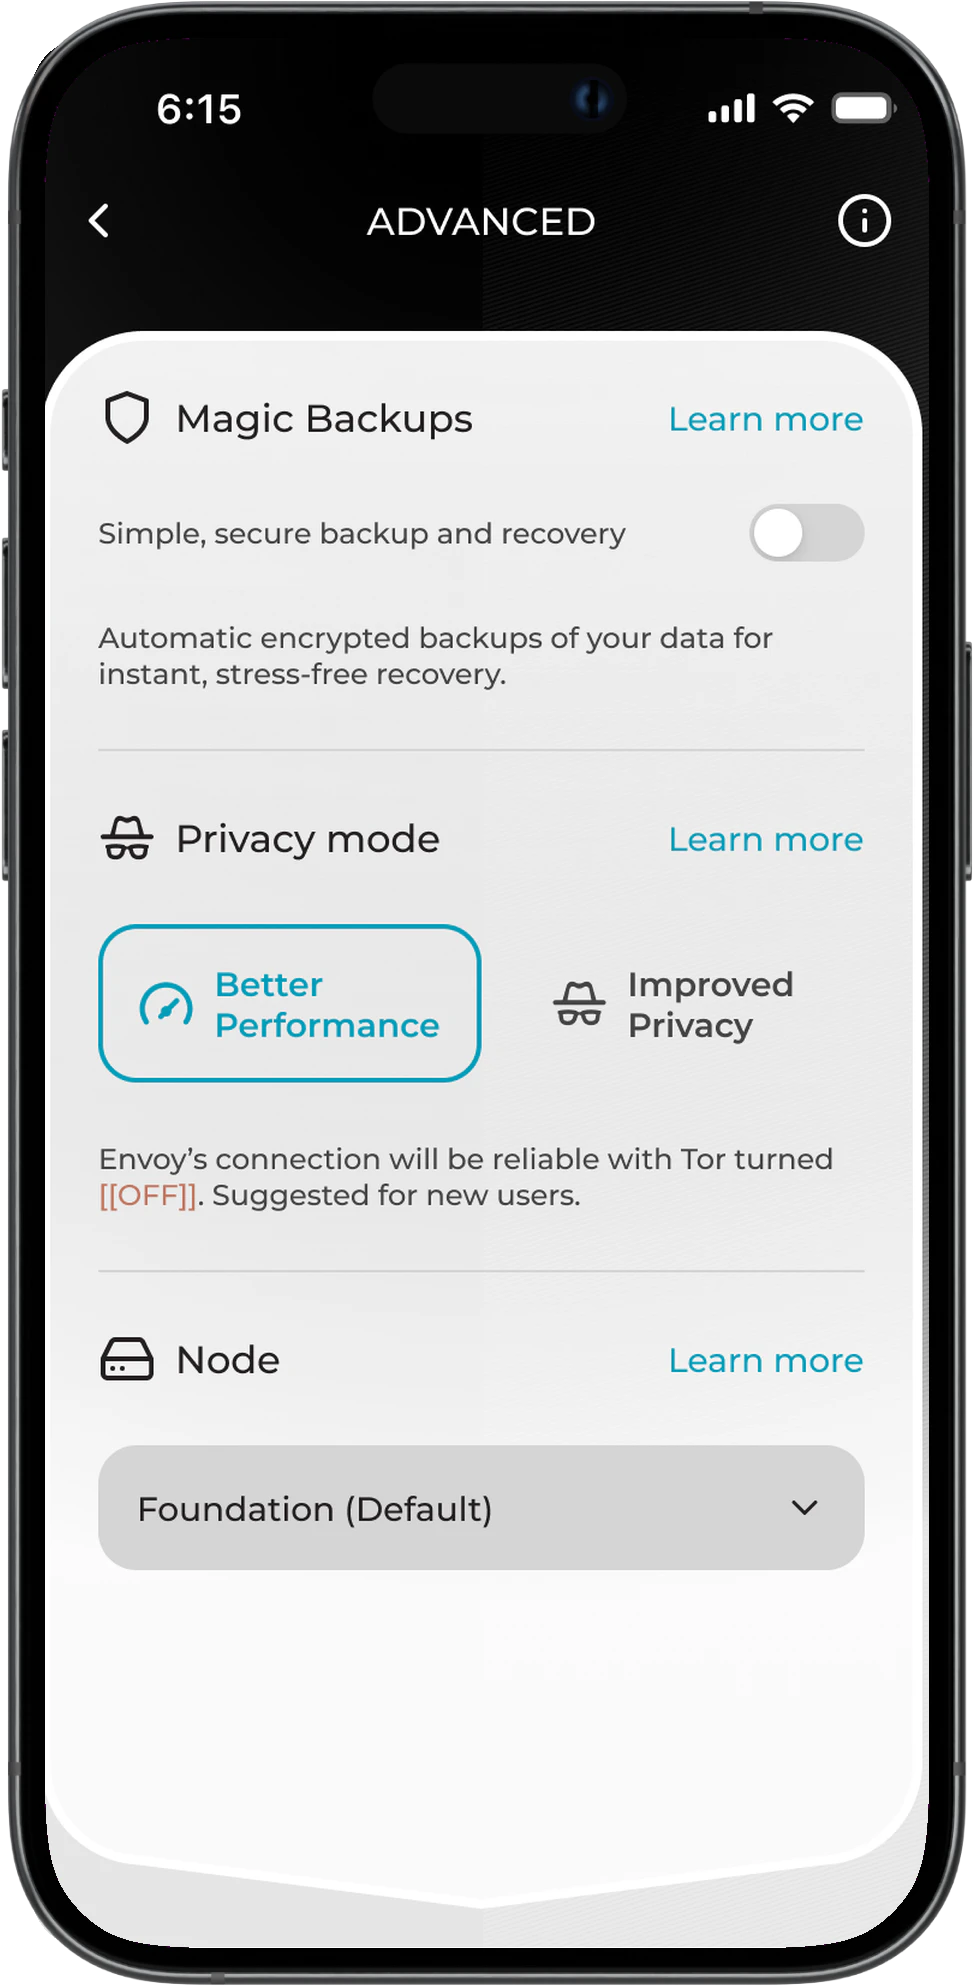
You must disable Magic Backups before tapping Continue. This setting cannot be changed during the rest of the onboarding flow.
Step 3: Initial Setup
First Power On
After turning on Passport Prime for the first time, you will arrive at the welcome screen where you’ll have an opportunity to read the device terms of use. After doing so, you will be met with a QR code.
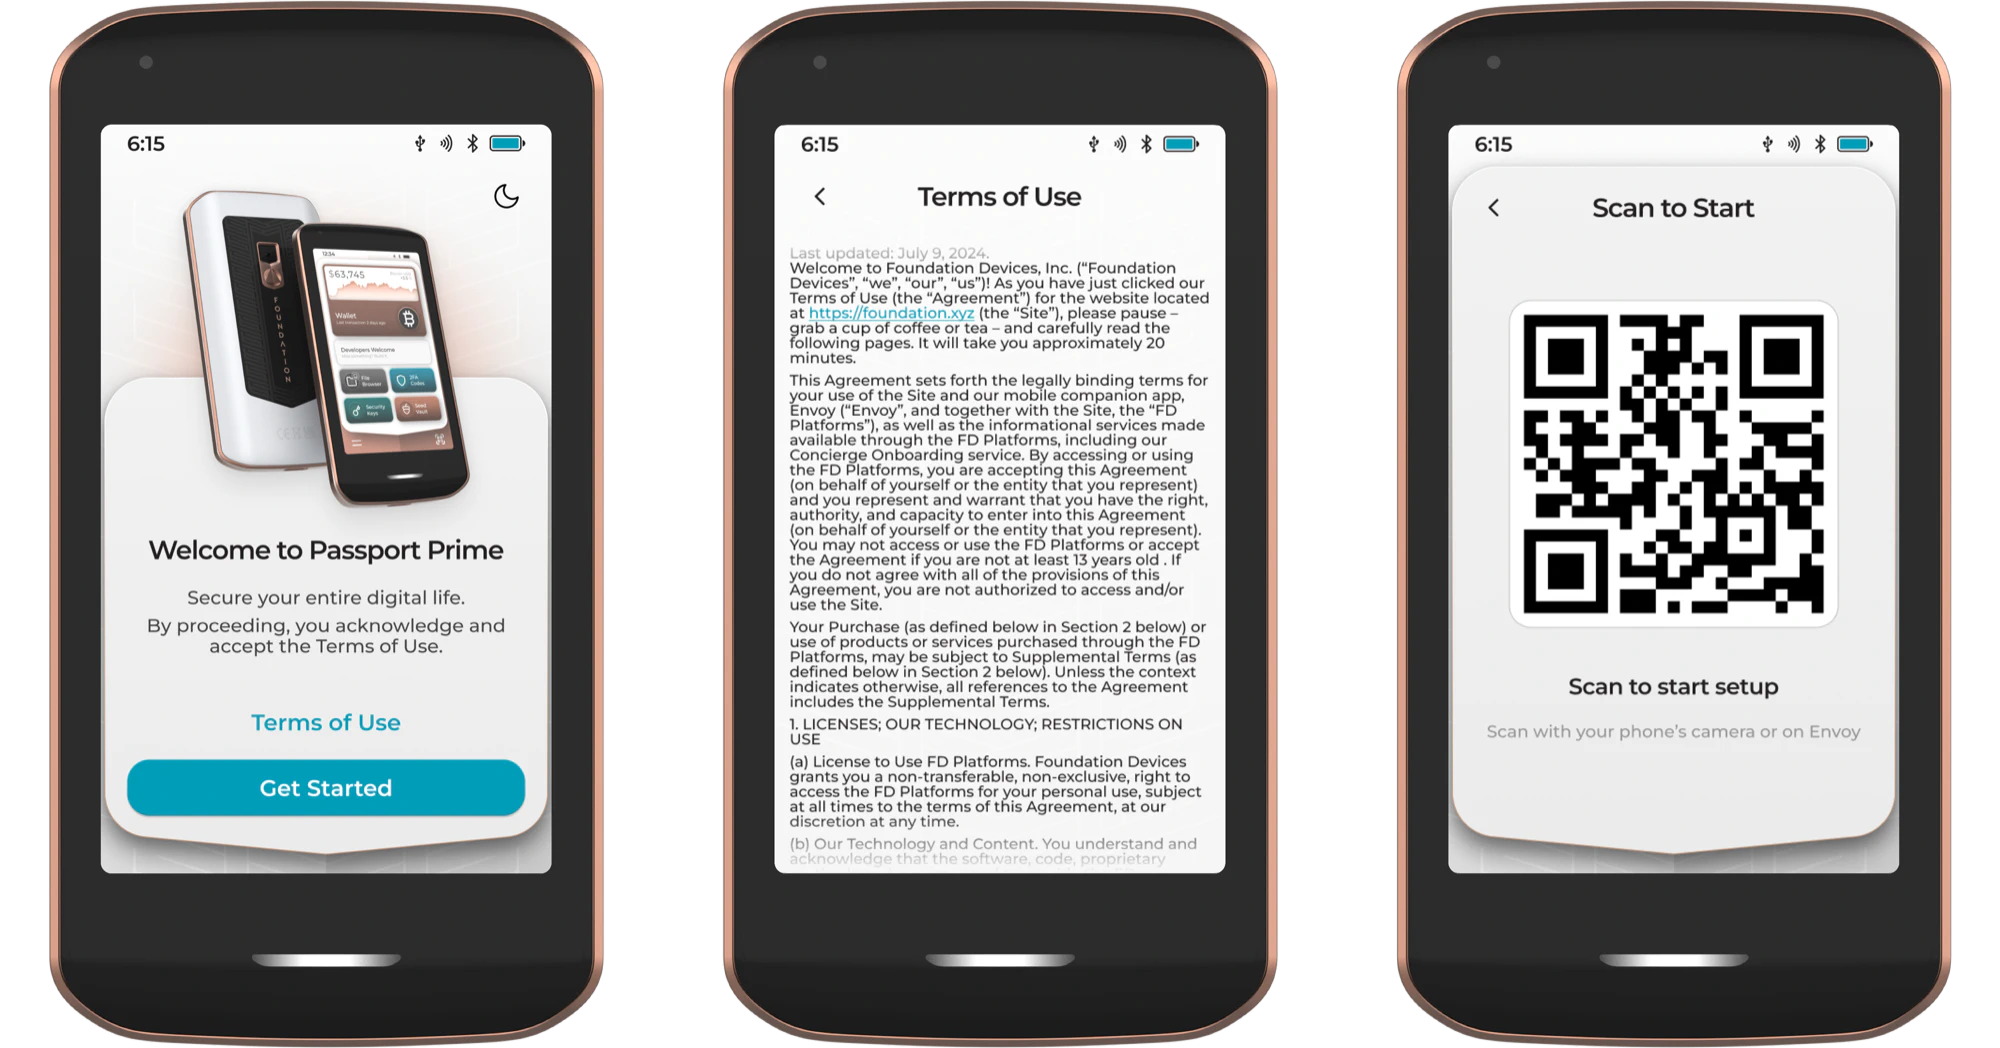
In Envoy tap ‘Set Up a Passport Device’ and scan the QR code being displayed by Passport.
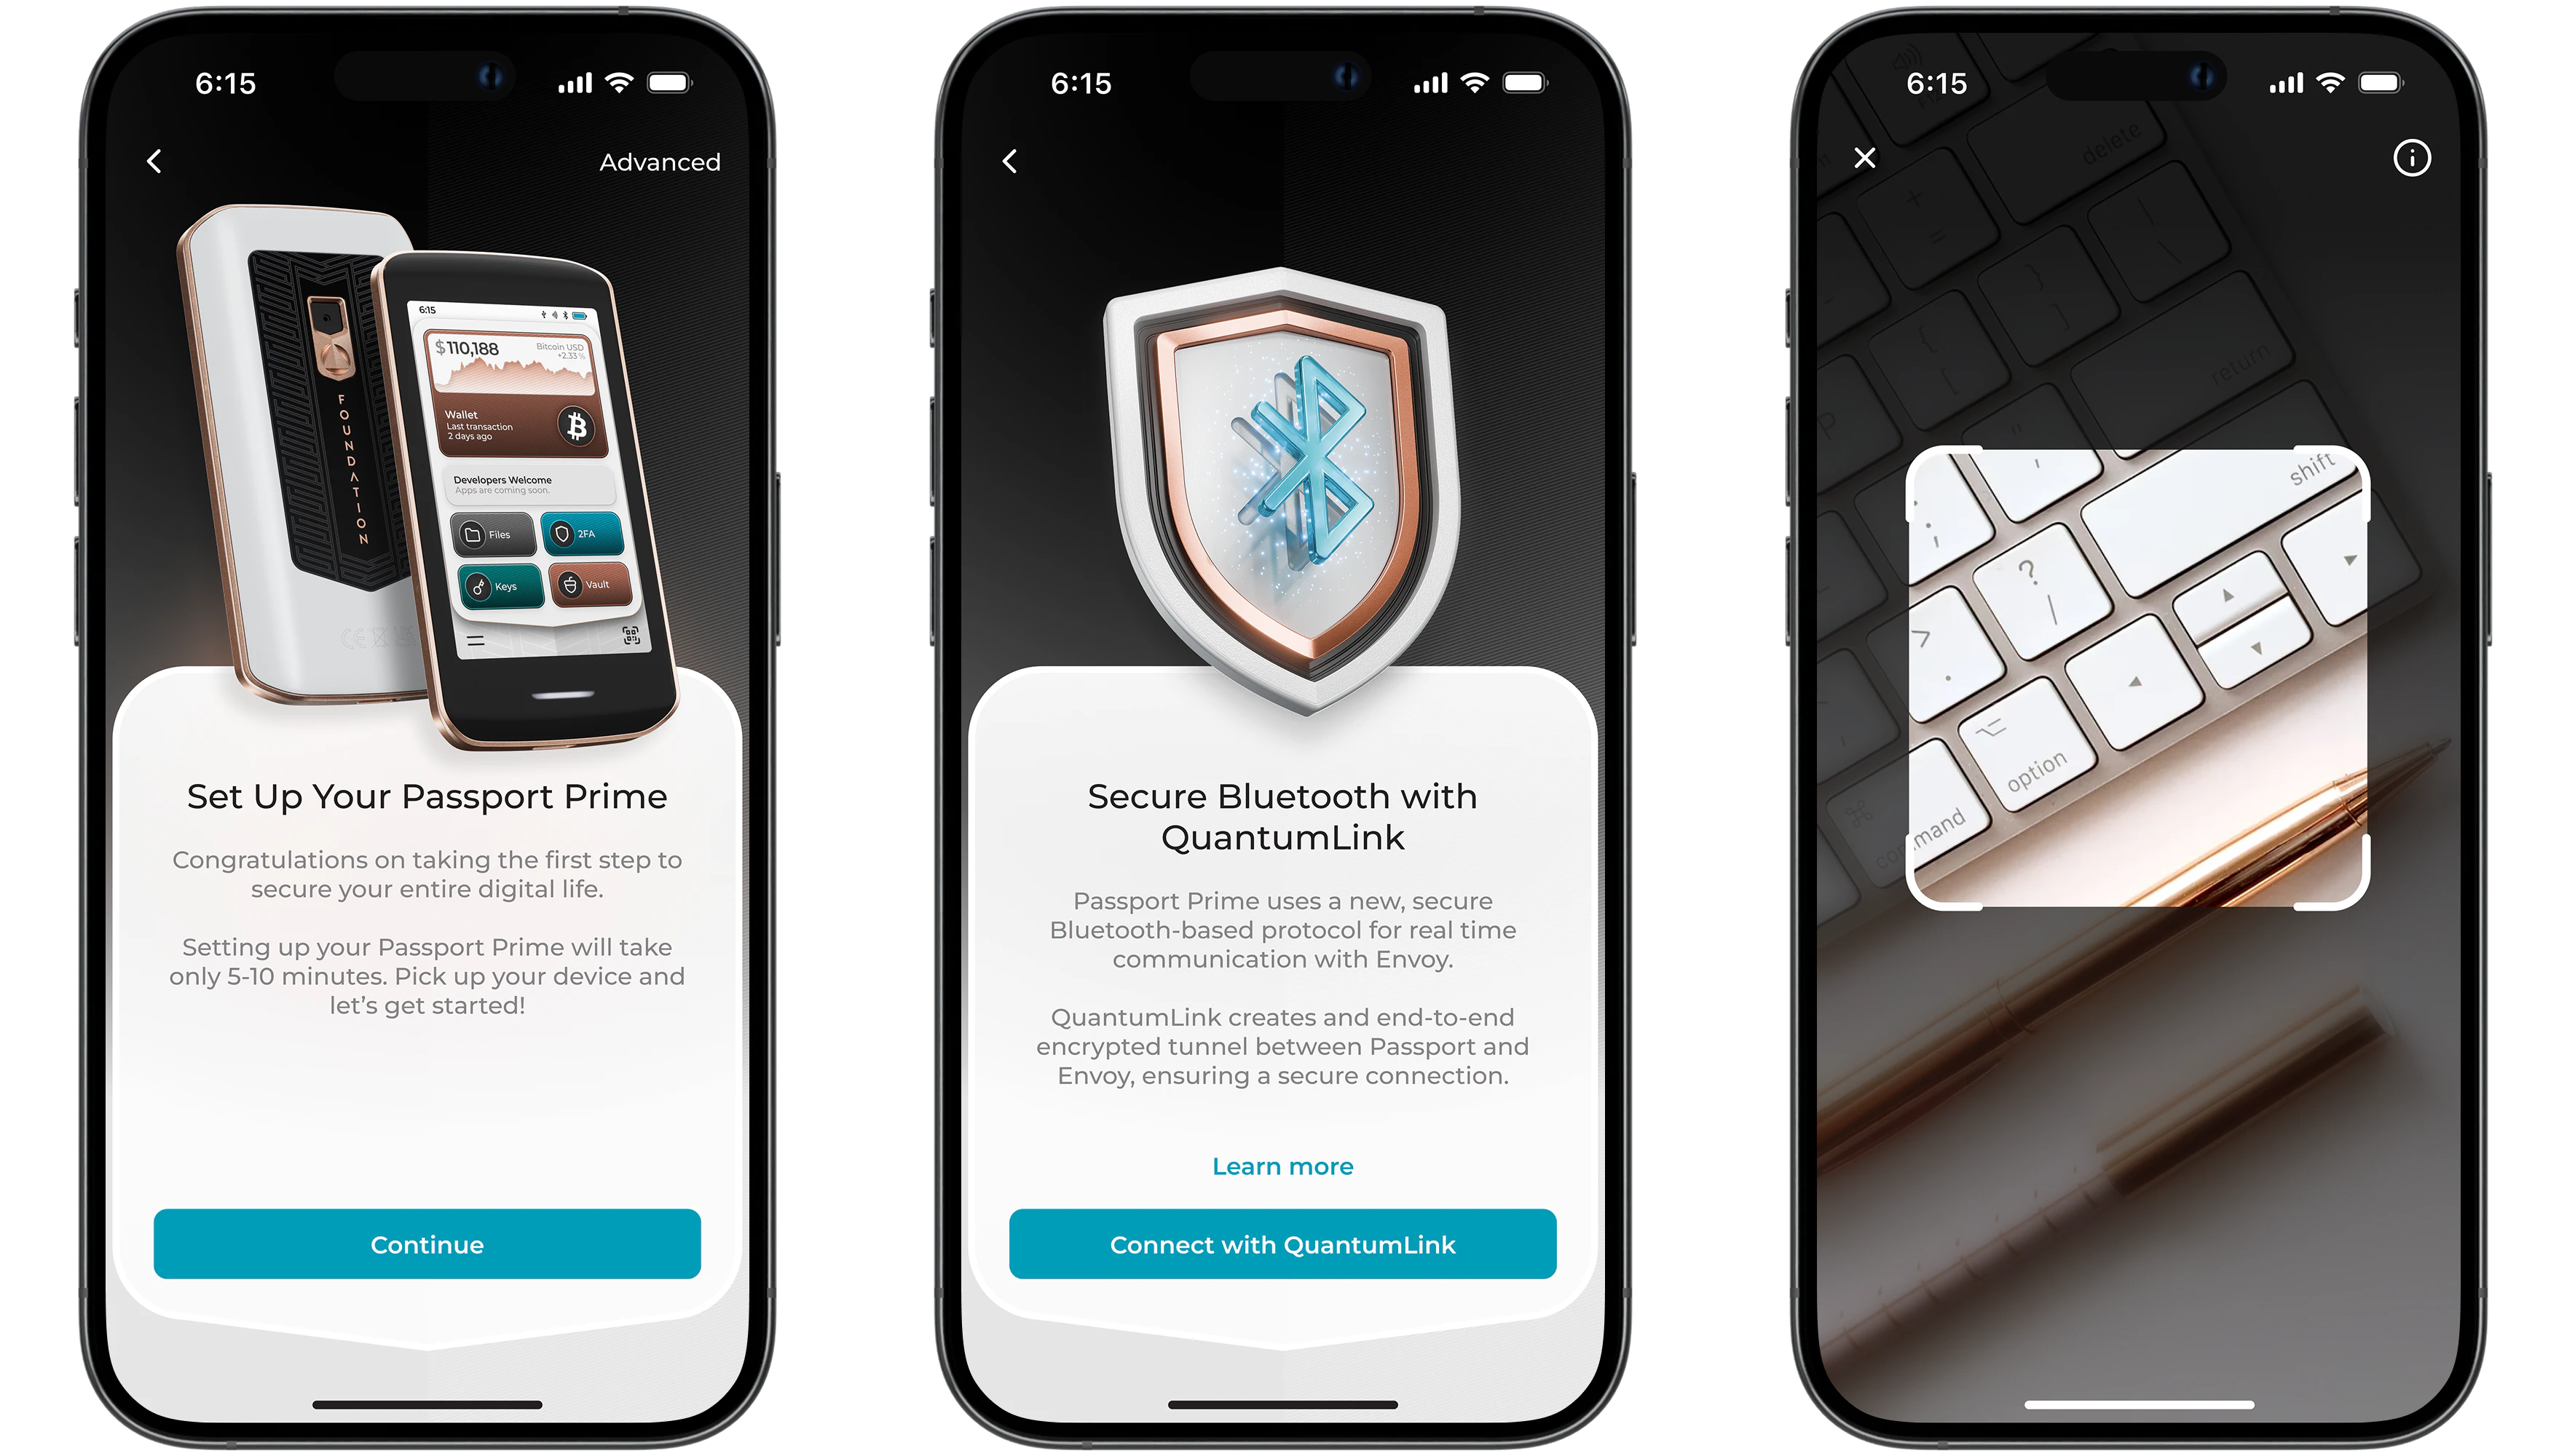
Back on the setup screen, tap Continue, then tap Connect with QuantumLink.
After granting Bluetooth permissions, Envoy’s camera will open and Passport Prime will now be showing a new animated QR code series for you to scan.
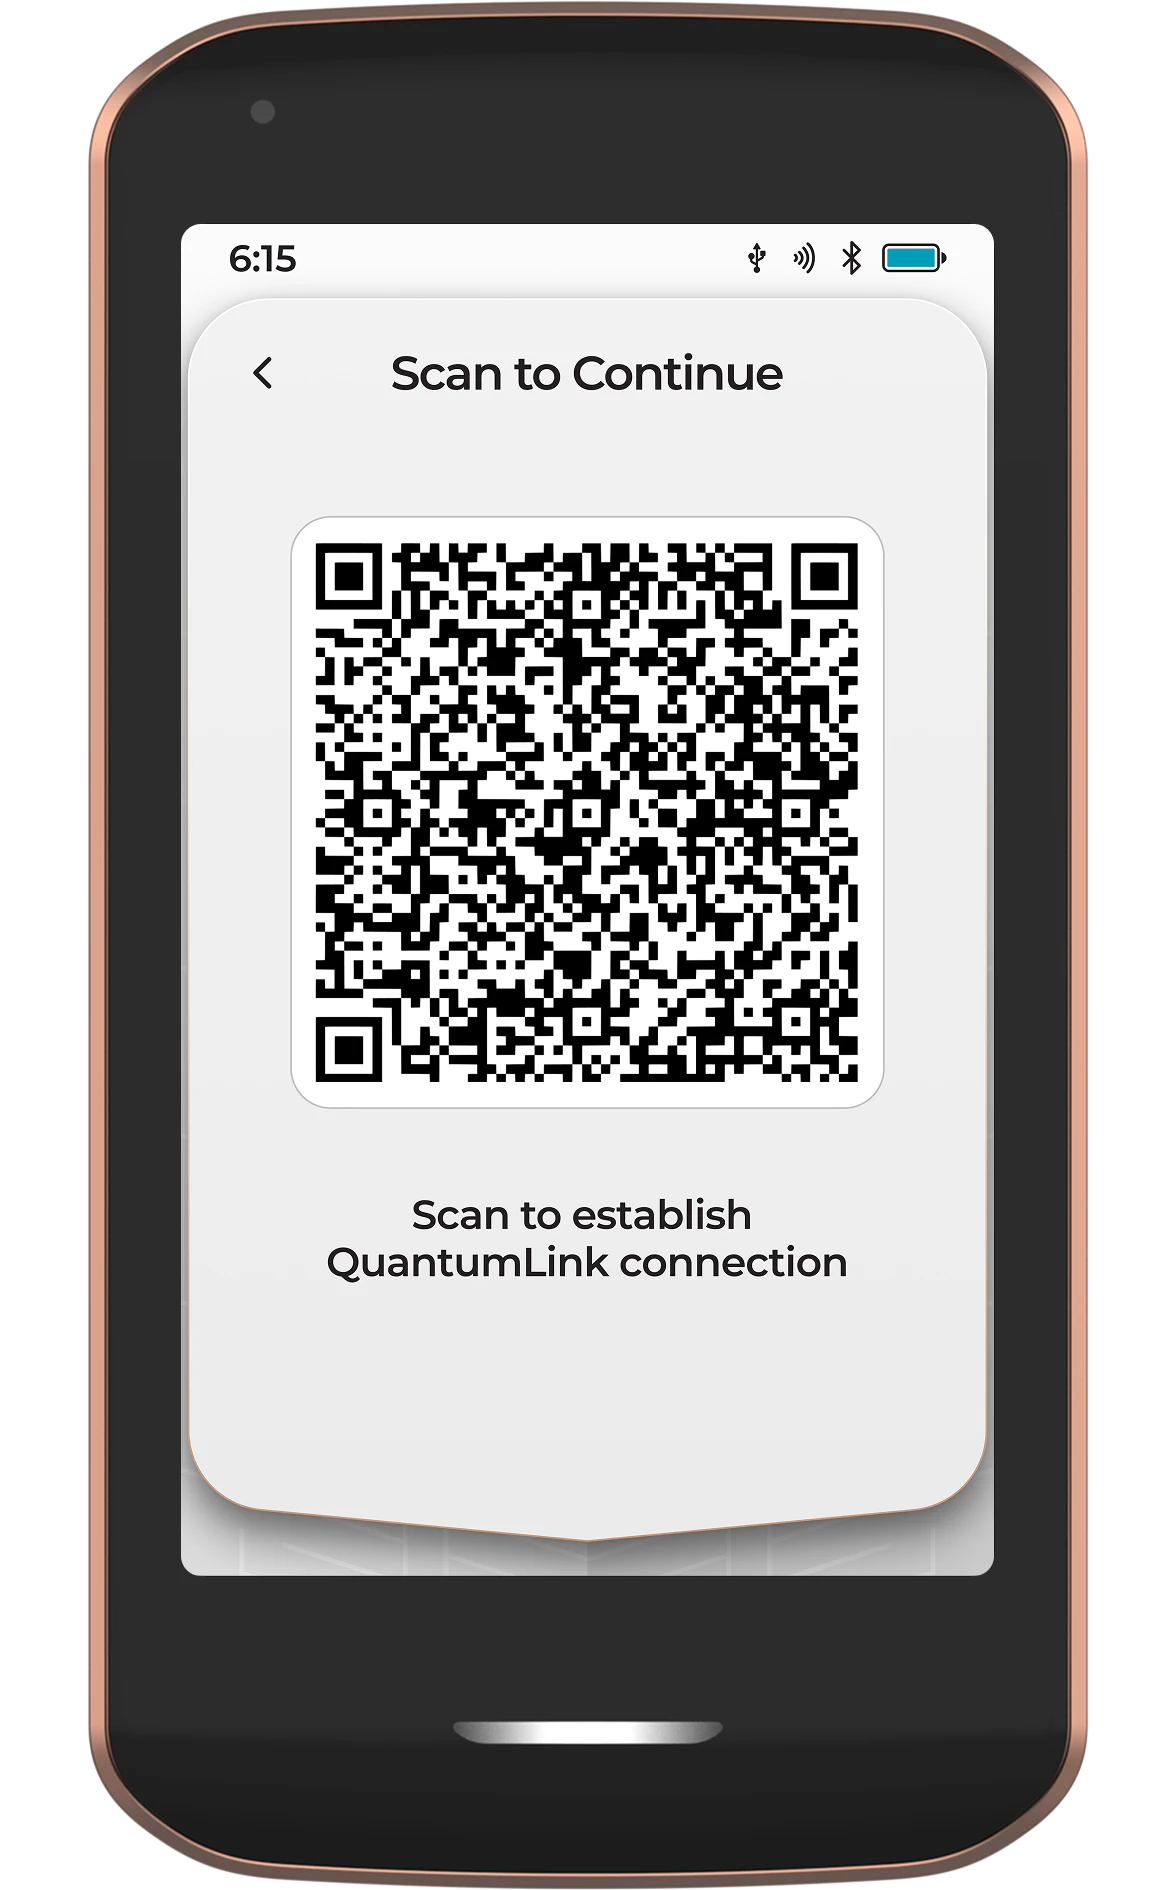
Once Envoy has scanned the QR code from Passport Prime, the secure QuantumLink tunnel has been established and both devices will continue the rest of the setup process in sync.
Want to learn more about QuantumLink? Tap the ‘Learn More’ button in Envoy, or follow this link .
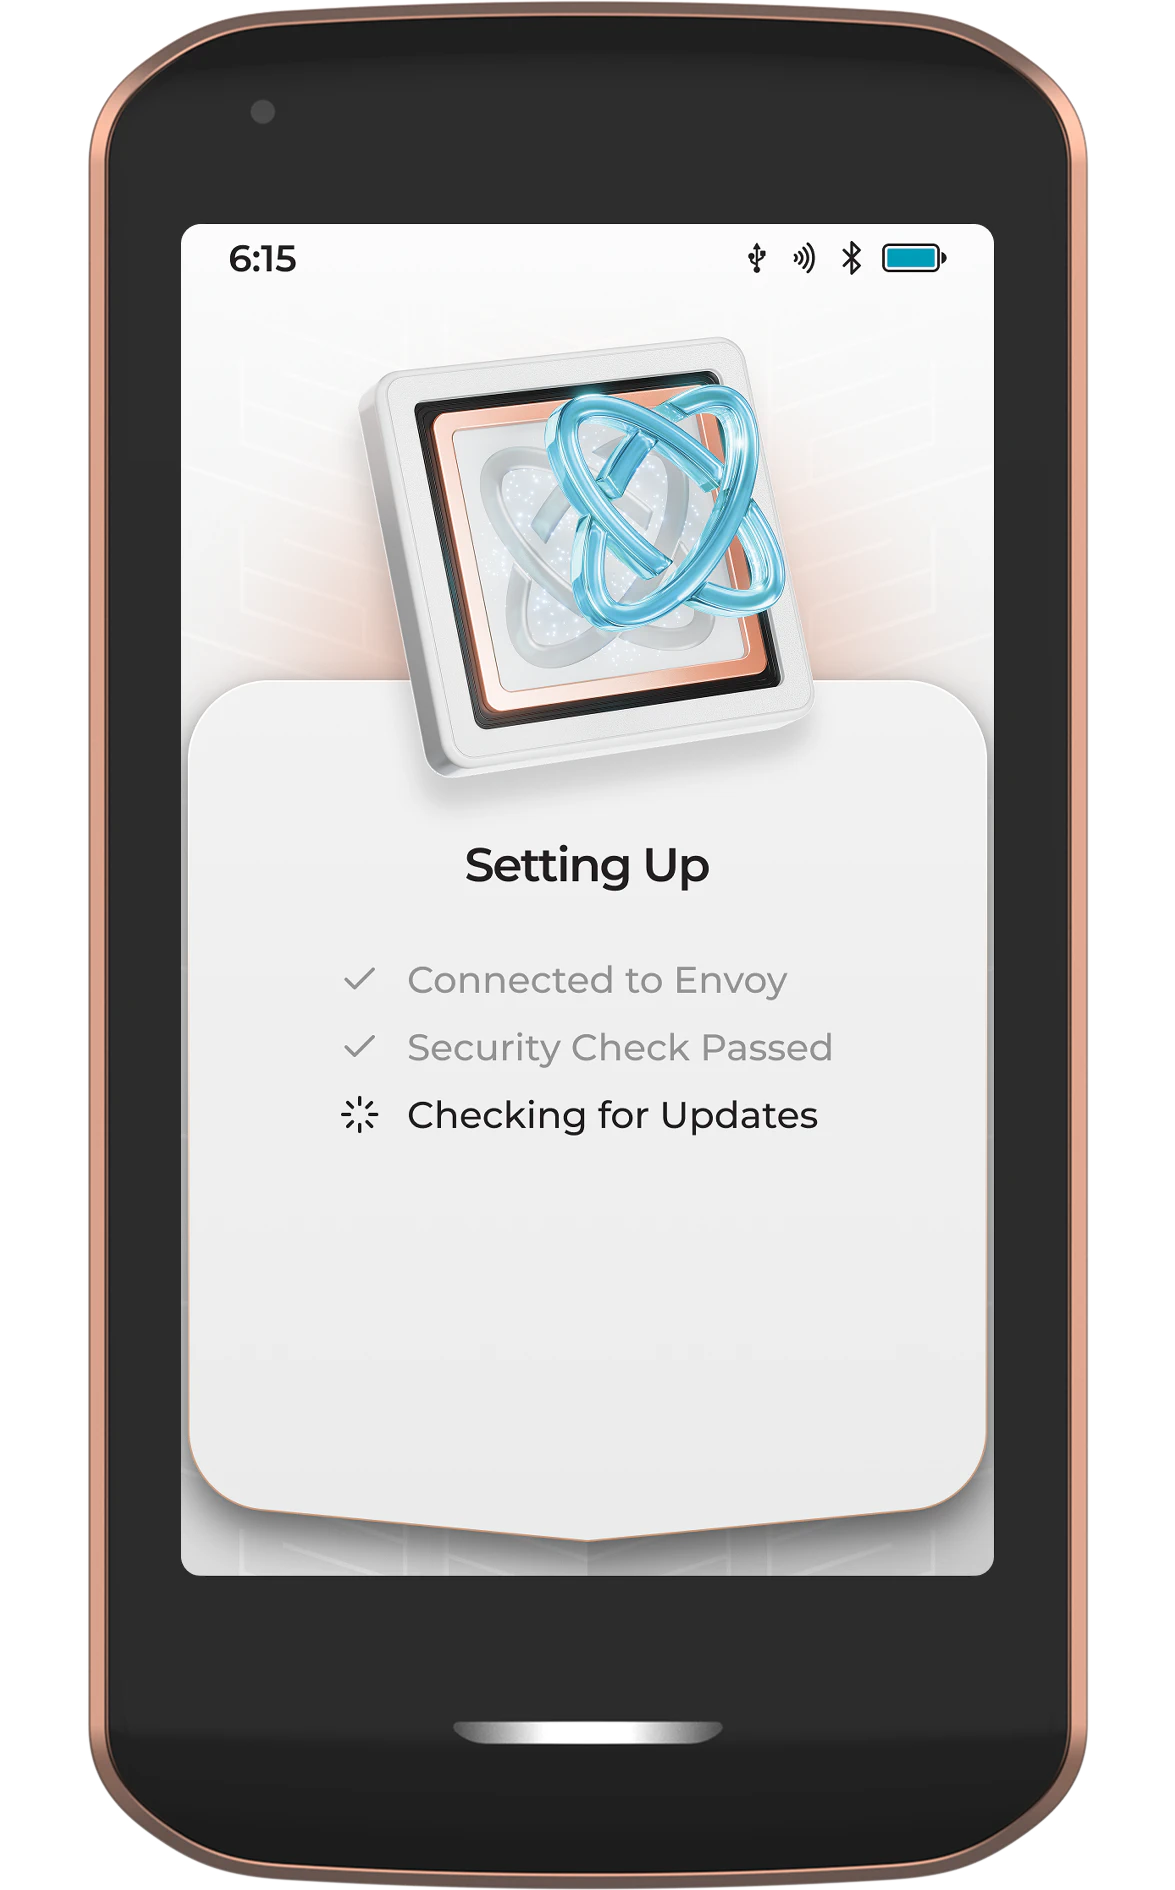
Security Check
During provisioning, a unique private key is stored inside Passport Prime’s secure element, with the corresponding public key being stored on a Foundation database. During the security check, the validation server checks the signature provided by Prime against the public key saved in the Foundation database. This is to verify your device is genuine and has not been tampered with before you received it.
During this step, Prime will automatically carry out a security check with the Foundation validation server, via Envoy, using QuantumLink.
If your device fails this Security Check, it may have been tampered with or swapped out with a malicious device during shipping. In the unlikely event that this occurs, please contact us via email .
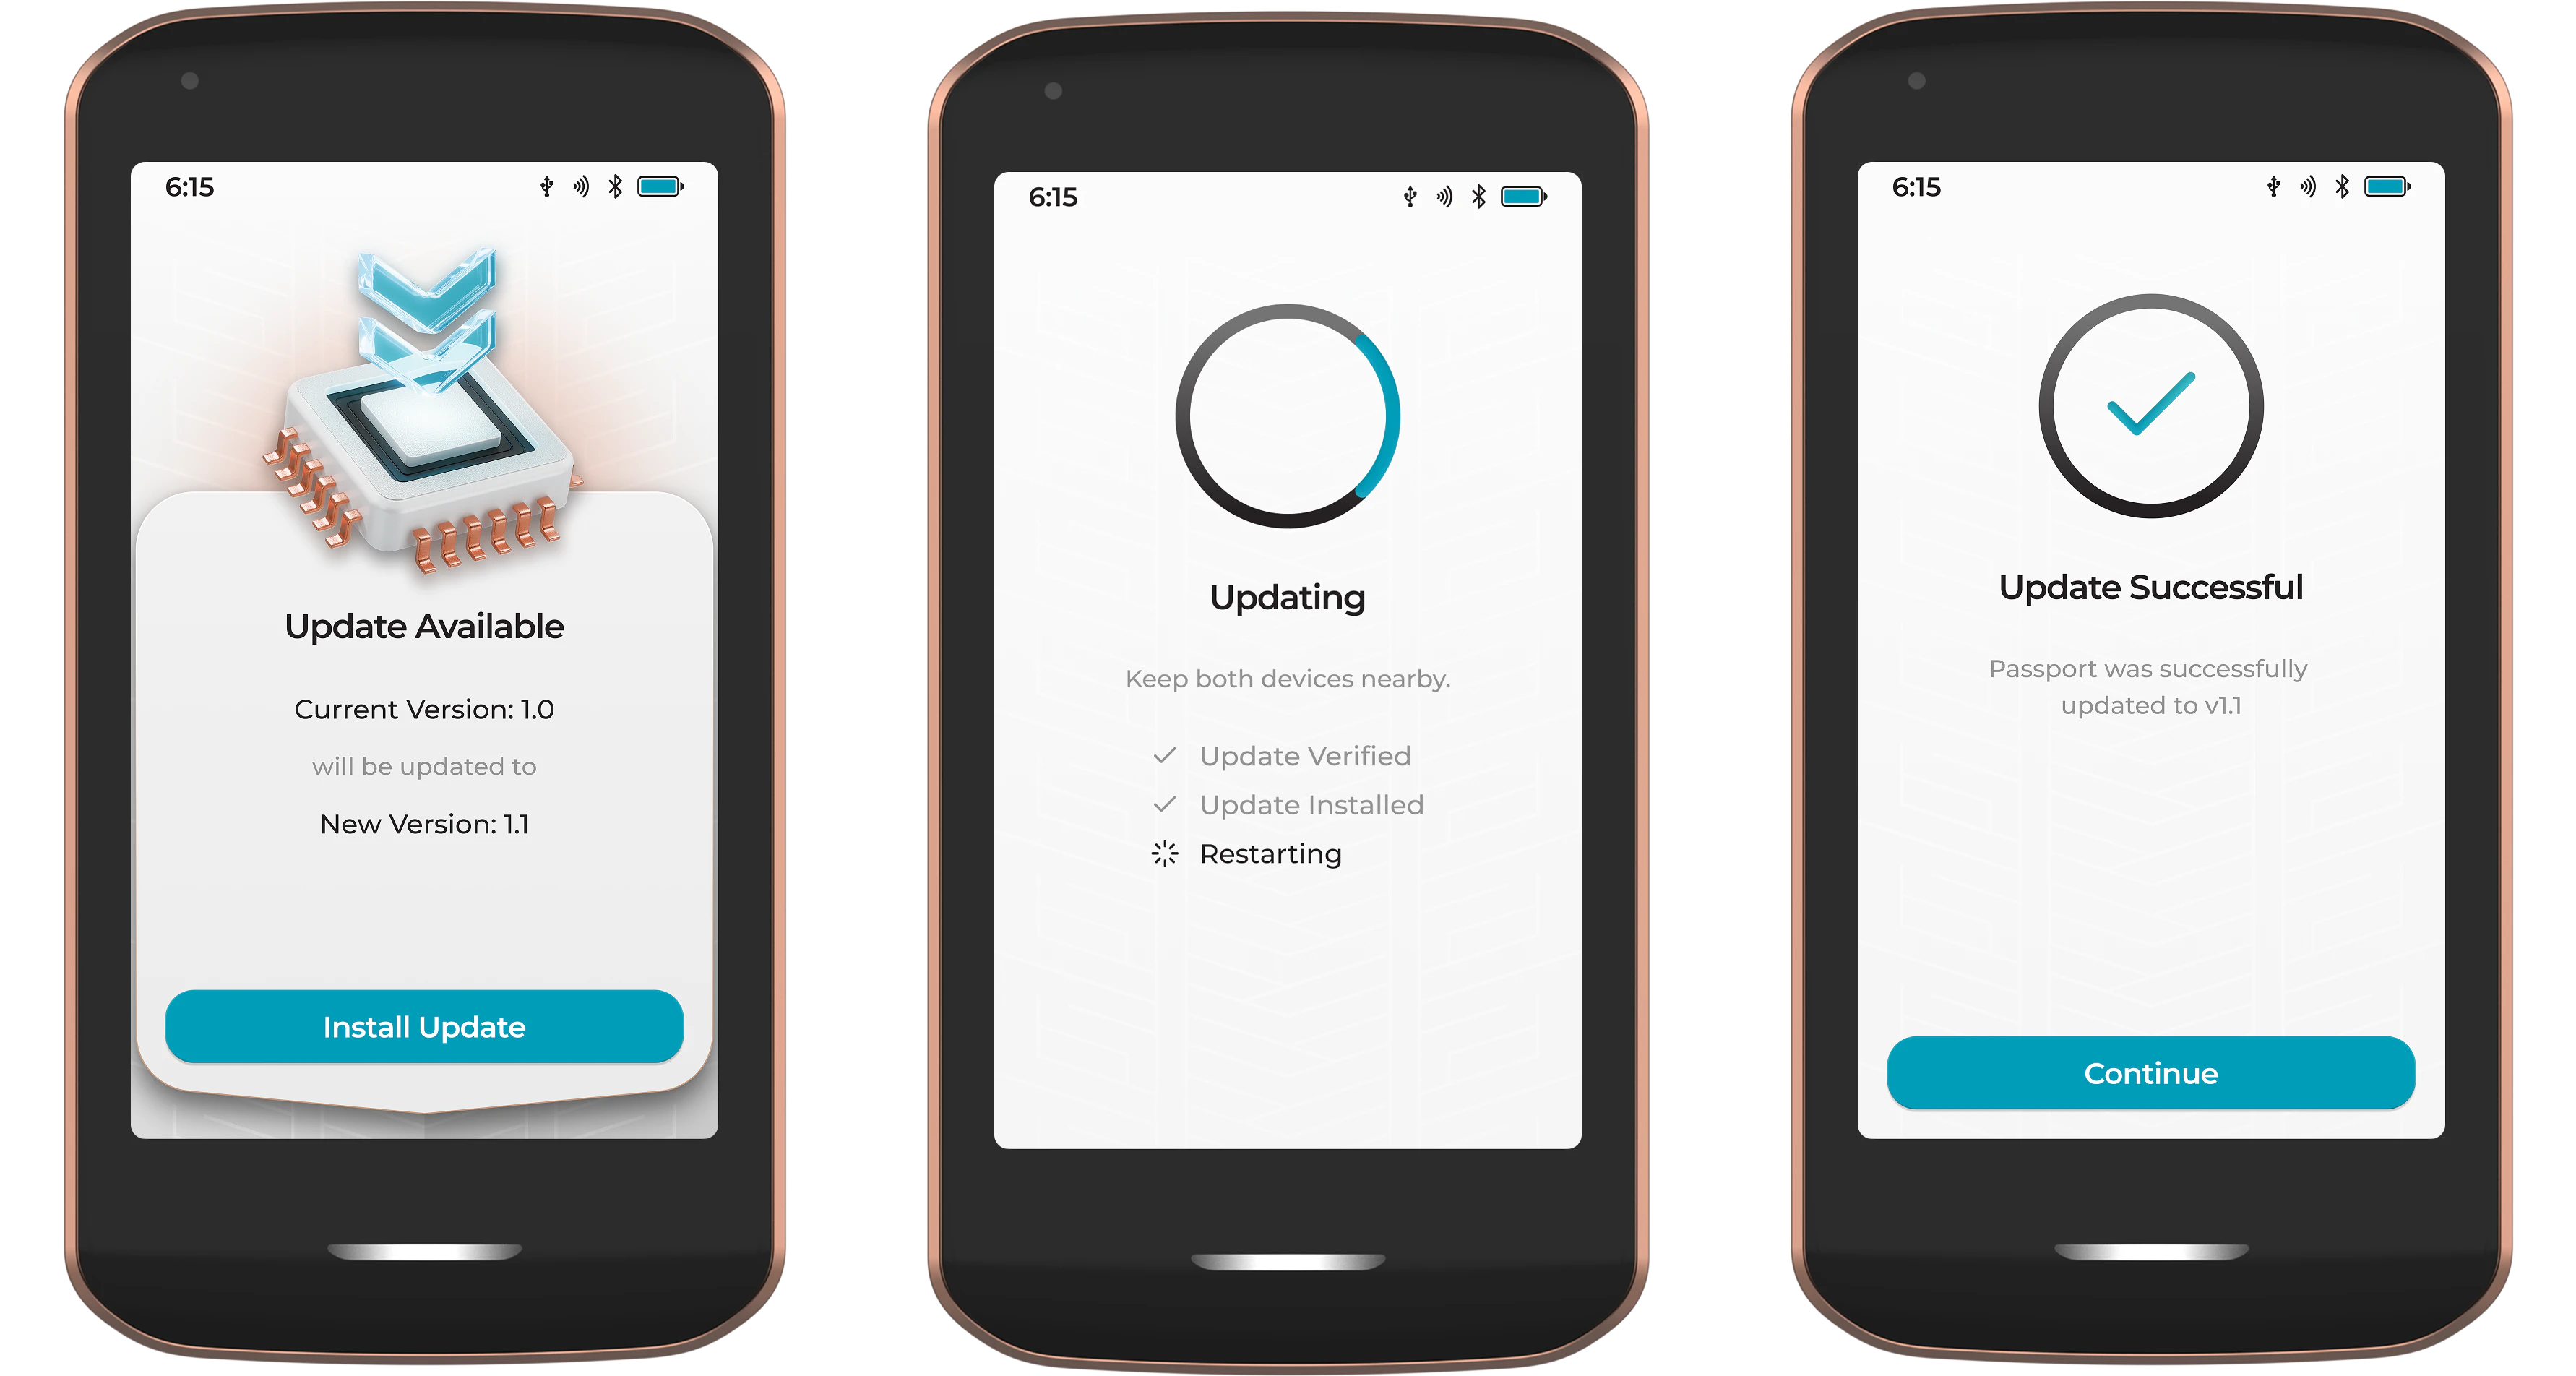
Firmware Update
Prime will then automatically check if there is a new firmware version available for your device. If there is, you will be prompted to start the install.
After starting the install, Prime will use its secure QuantumLink connection with Envoy to automatically download, verify, and then install the new update. Once the update has been installed, Prime will automatically restart.
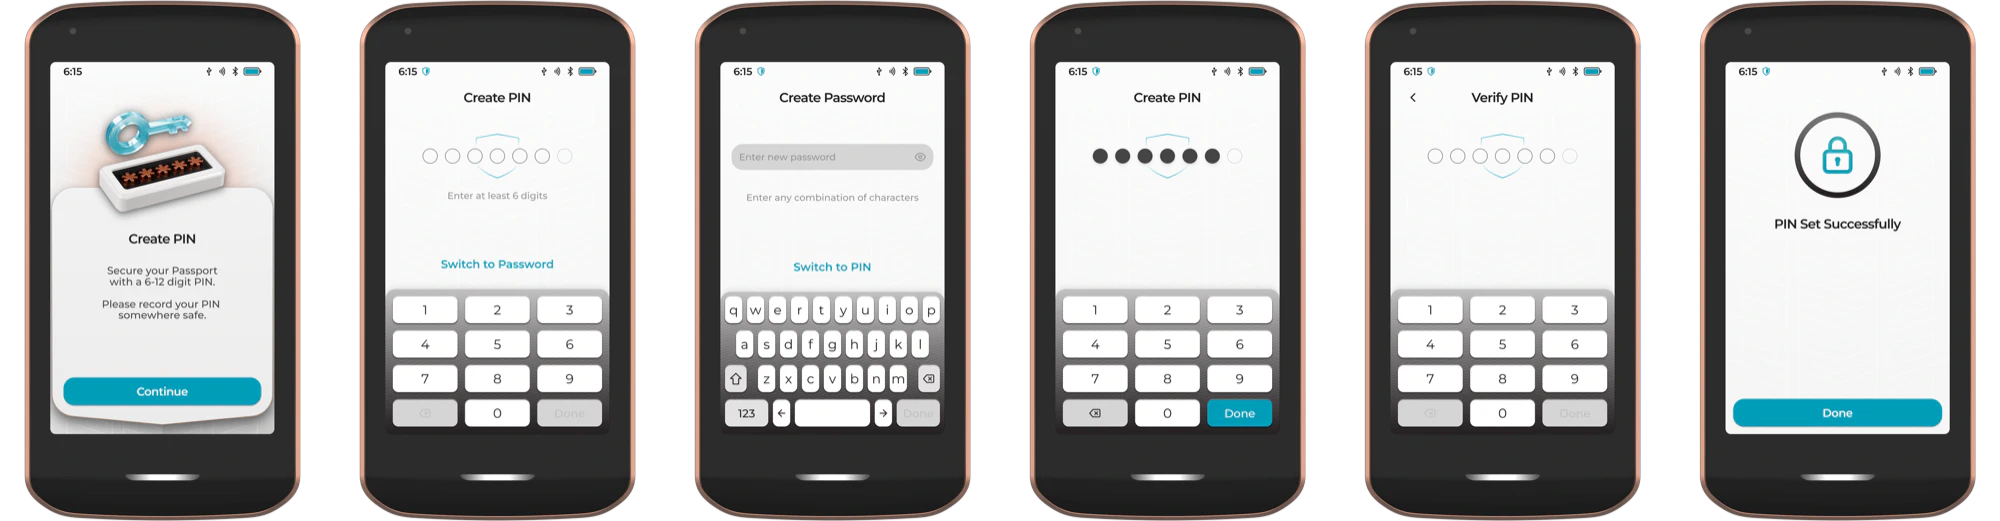
Step 3: Set a PIN
A 6-12 digit PIN is used to protect unauthorized physical access to your device. The default PIN is numerical, but you have the option to Switch to Password to set a longer, more complex alphanumeric password.
Please ensure you do not set a PIN that is easily guessable (eg 123456). We recommend that you write it down during this step and store it in a safe, secure location.
Passport Prime will erase the Master Key after 10 consecutive incorrect PIN/Password attempts. After which point you must reinitialize the device with a new PIN and recover the Master Key from a backup.
Step 4: Master Key
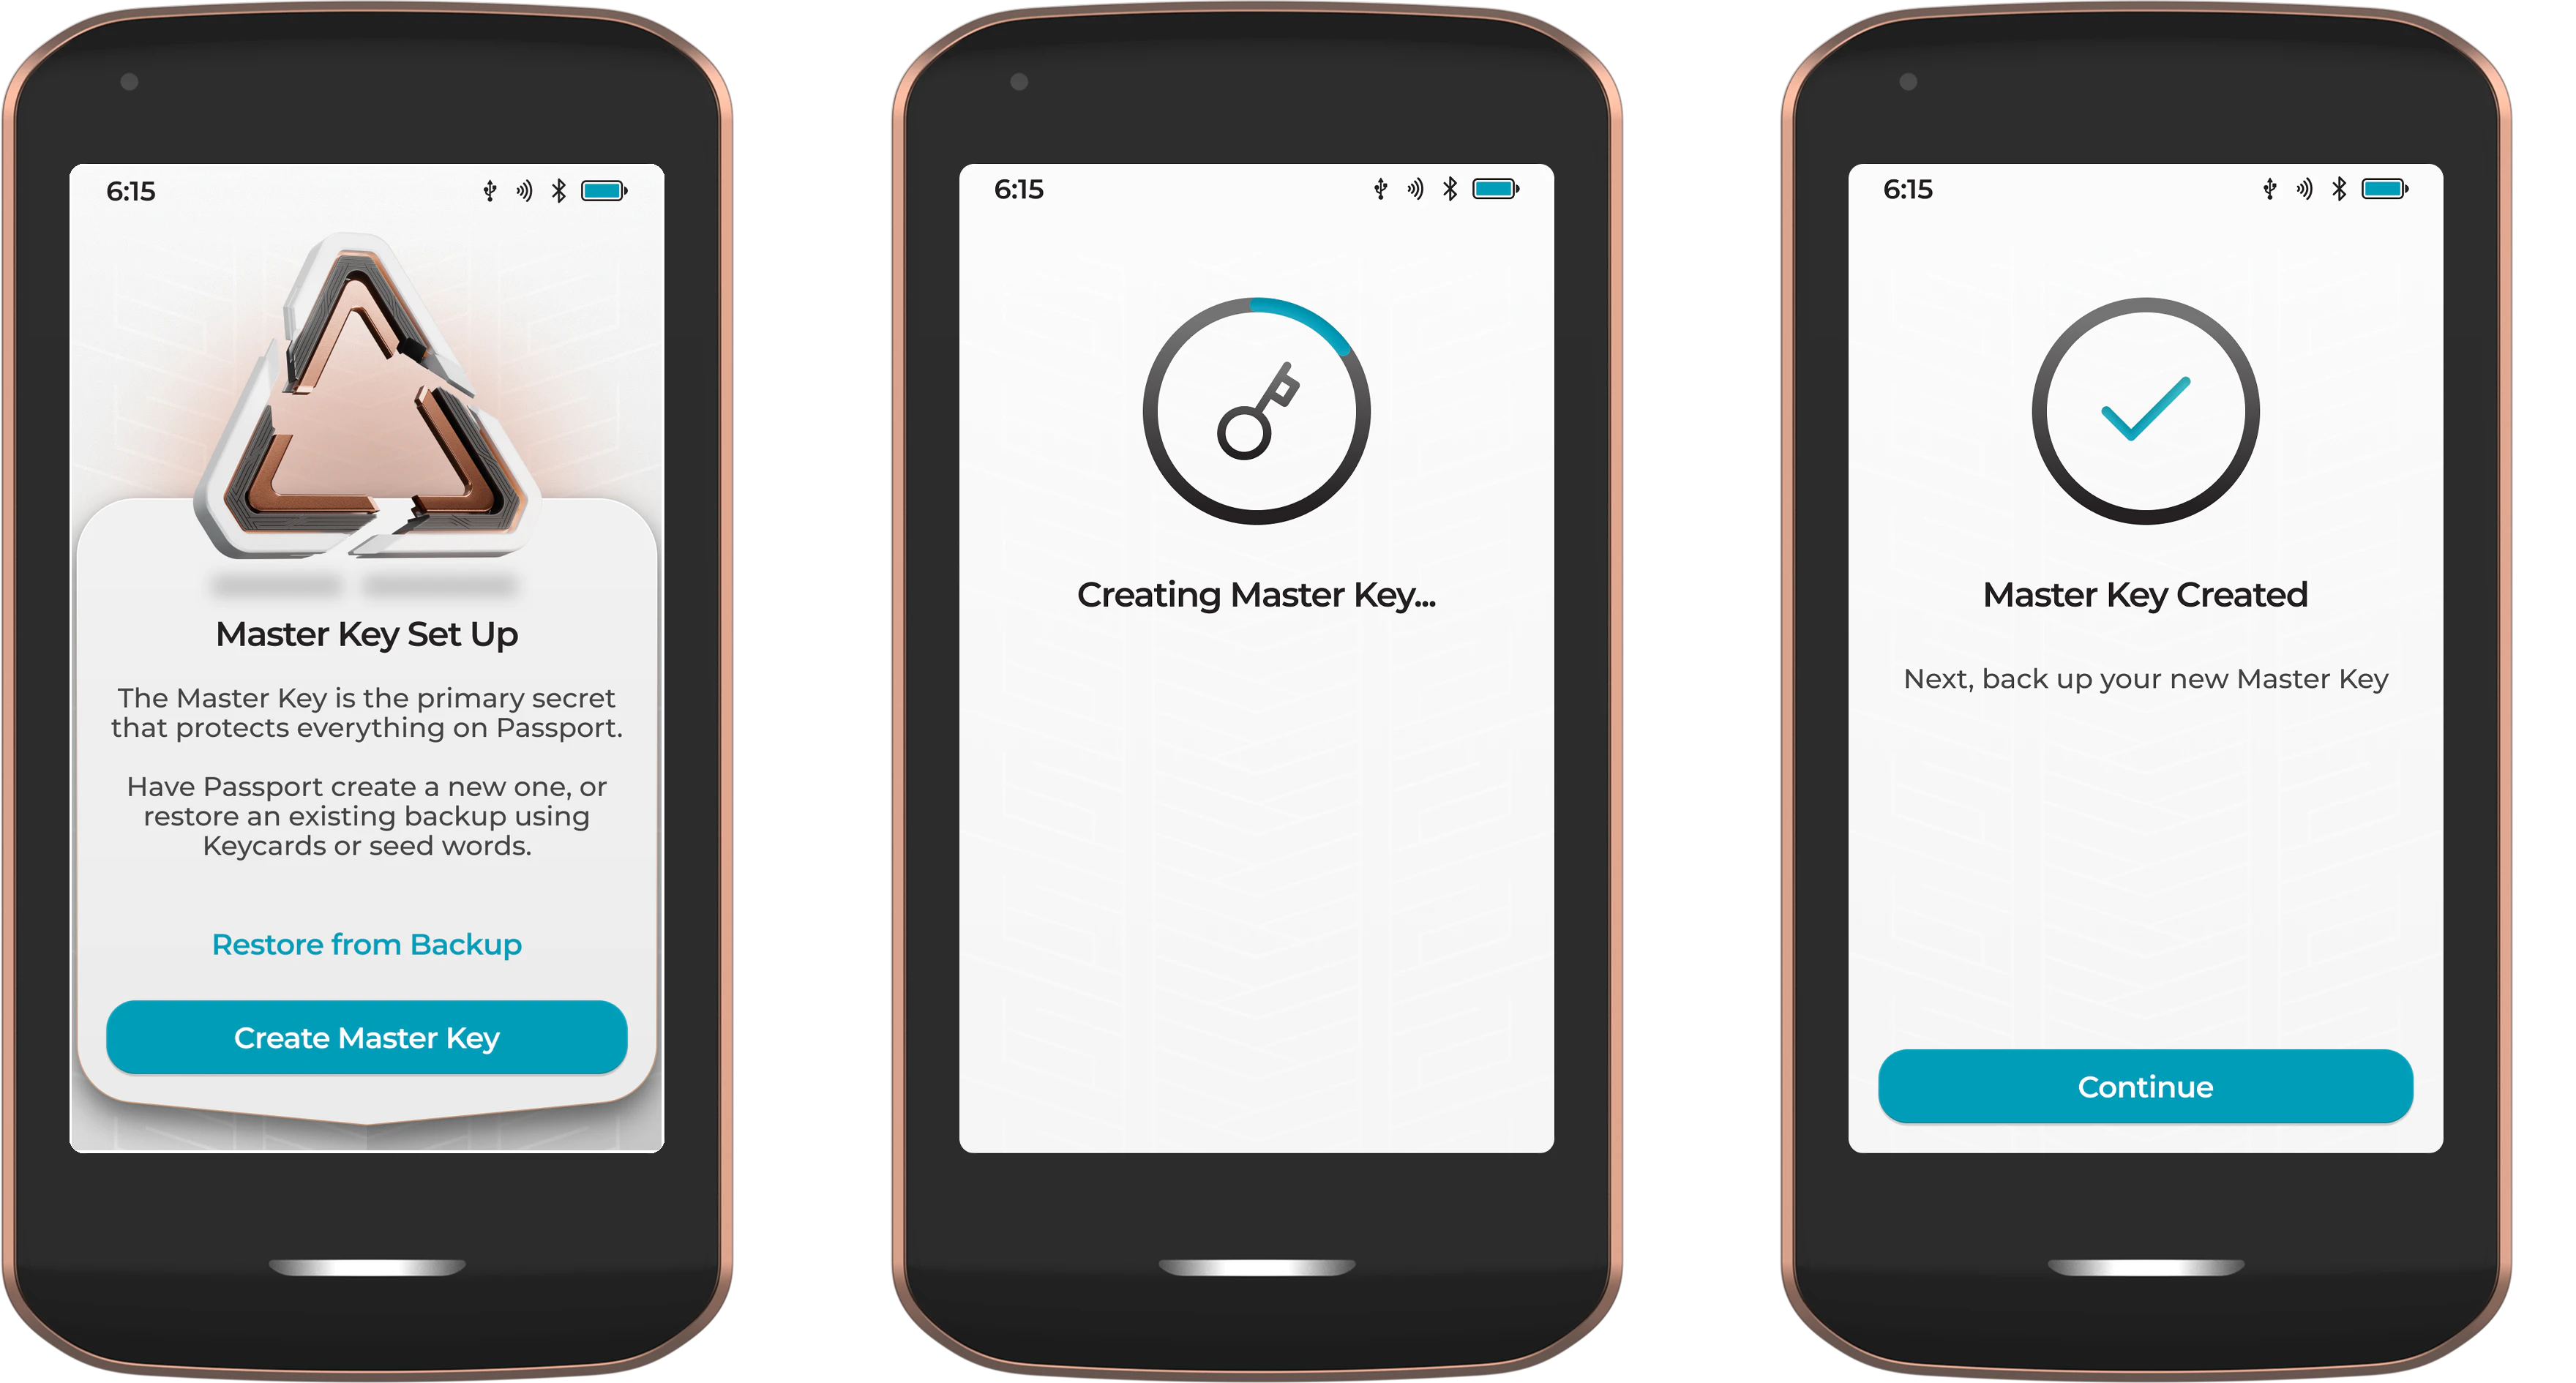
Creating a new Master Key
Next Prime will securely generate a brand new Master Key using multiple sources of randomness from its internal hardware. This includes the MCU, Secure Element and Avalanche Noise Source .
For those users starting with a new Passport Prime and requiring a new Master Key, simply tap Create Master Key.
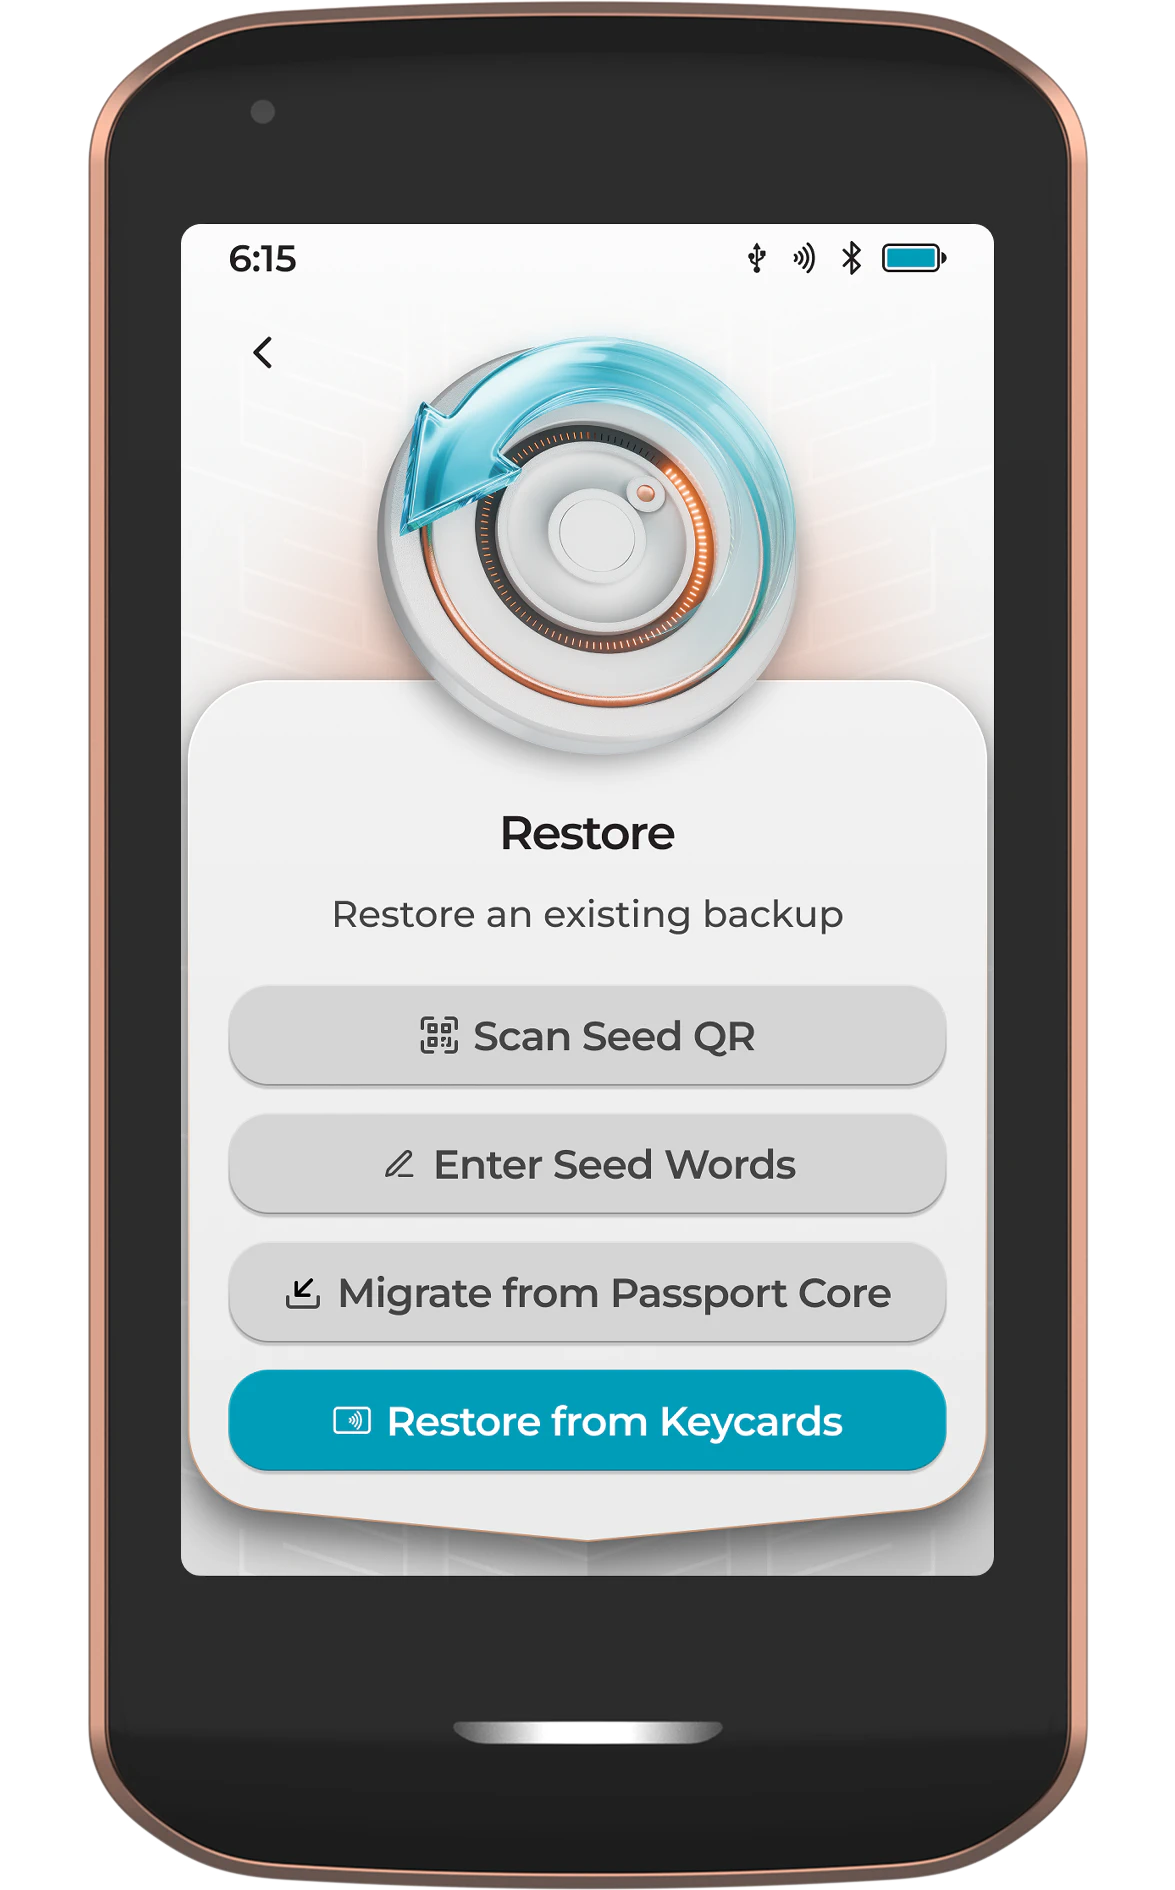
Restoring a Master Key
For those users wanting to Restore an existing Master Key from a previous Passport or other compatible wallet, tap Restore. From the next screen, users can restore via:
- Seed QR
- BIP39 seed words
- A Passport Core encrypted backup (microSD + 20 digits) - COMING SOON
- Using Keycards from this, or another Passport Prime
Step 5: Master Key Backup
Because you disabled Magic Backups in Step 2, Passport Prime will now prompt you to create a manual backup of your Master Key. You have two options:
- View Seed Words - Display and manually record the BIP39 seed word representation of your Master Key
- 2 of 3 Keycard Backup - Split the Master Key across all three provided Keycards using Shamir Secret Sharing
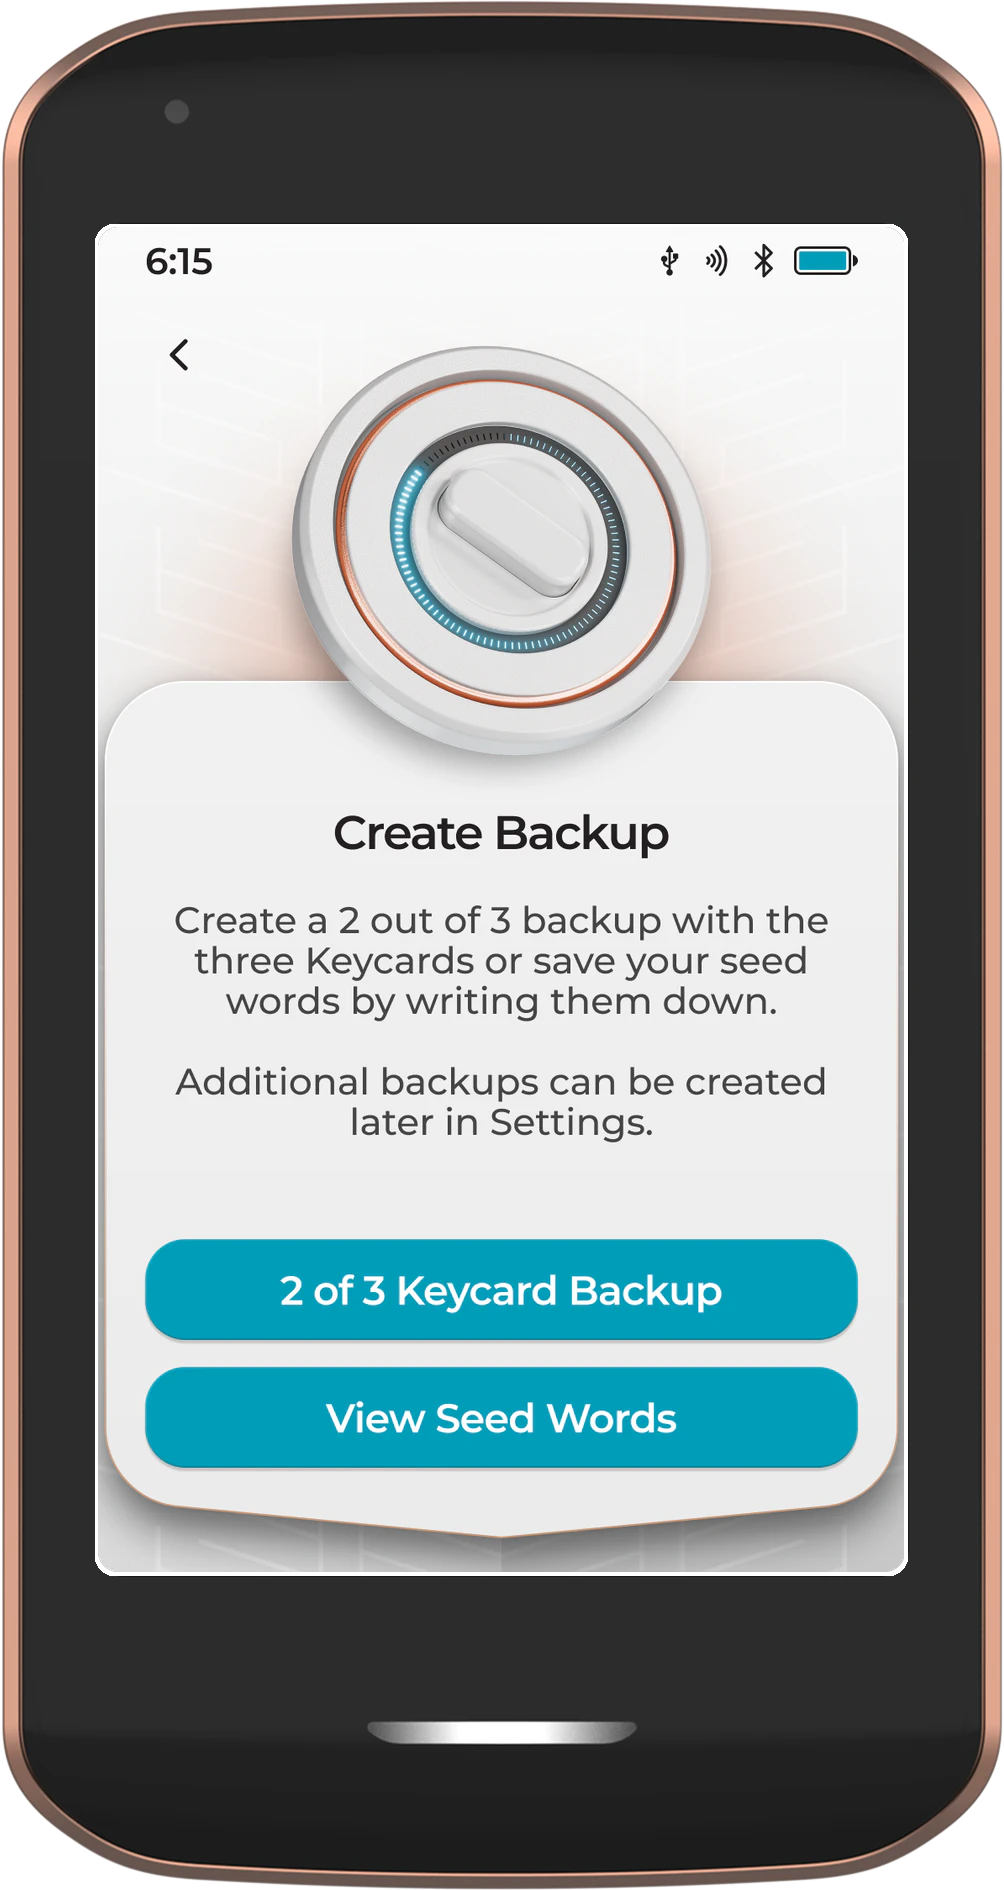
Both options are valid and can be used together for additional redundancy. This guide focuses on the recommended 2 of 3 Keycard Backup method. This approach splits your Master Key into three parts using the Shamir Secret Sharing protocol, with one part stored on each of your three Keycards. Any two of the three Keycards are required to restore the Master Key.
Irrespective of the option chosen during onboarding, you can complete additional backups from the Settings screen on Passport Prime at any time. For example, you may want to create a Keycard Backup now and also record your seed words as a secondary backup method.
If you choose to record your seed words, consider storing them in a Steel Backup Capsule for long-term protection against fire, water, and physical damage.
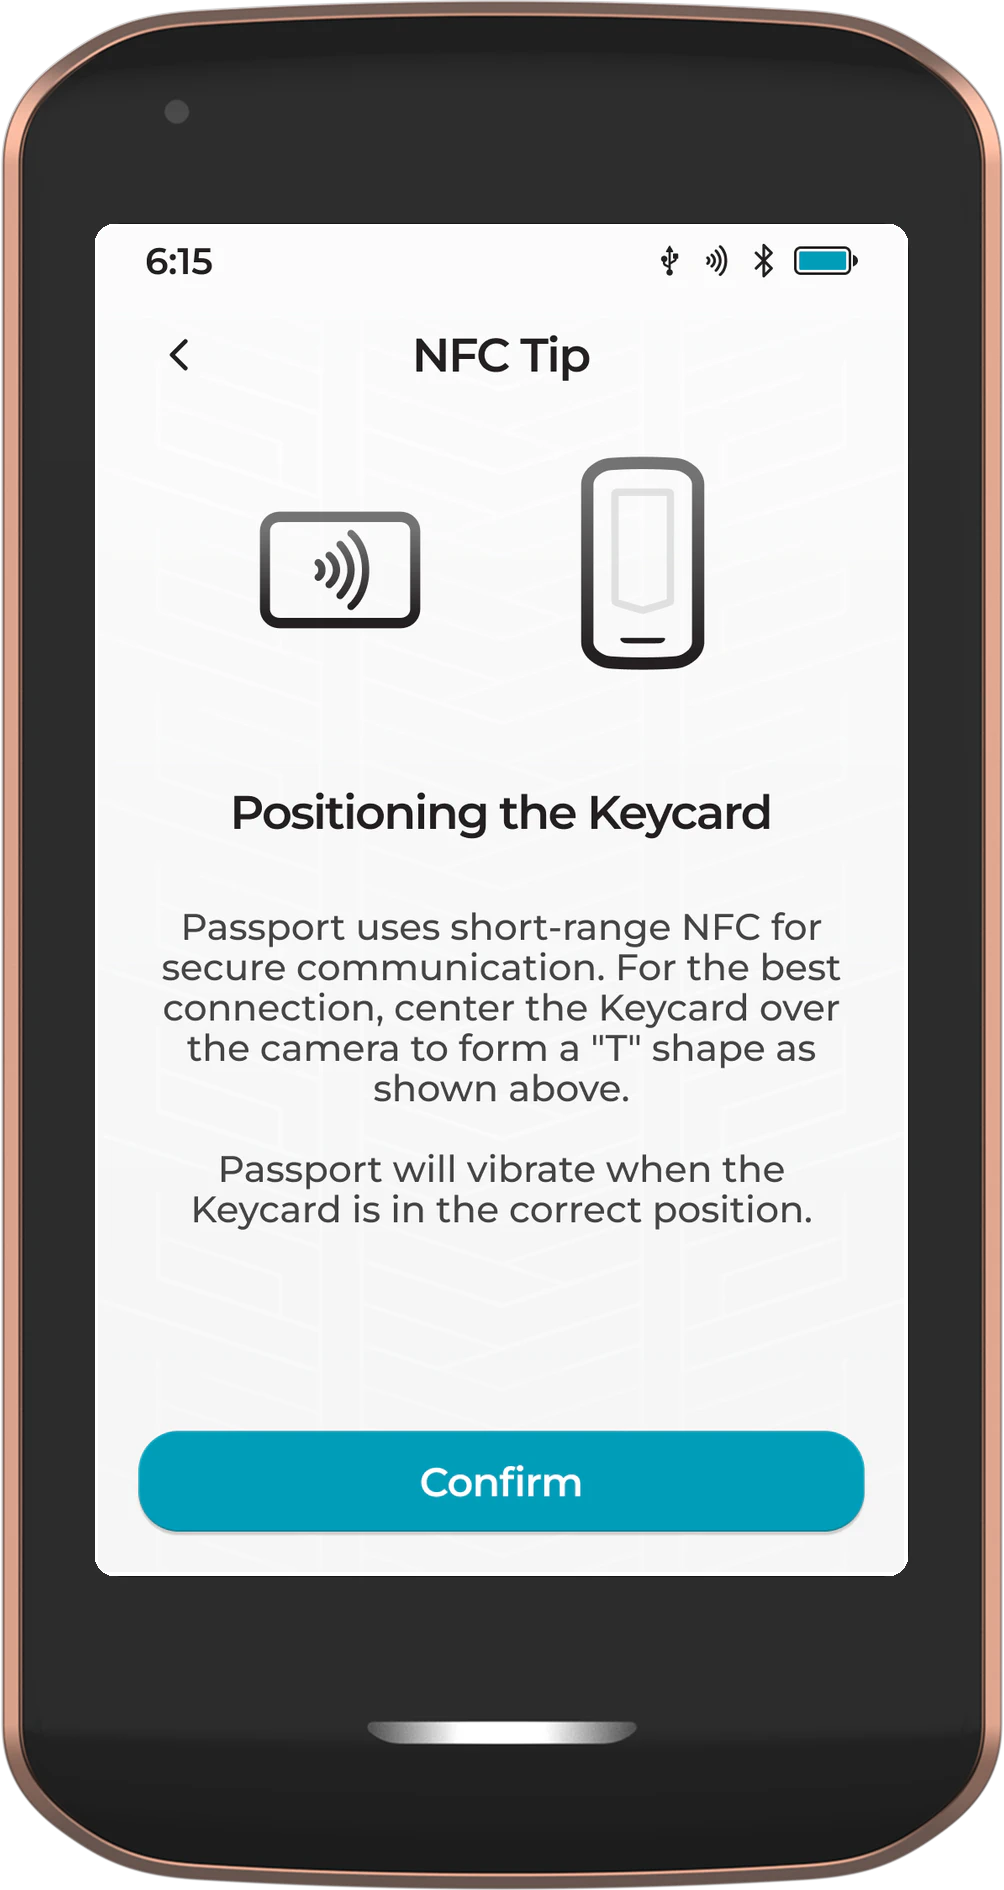
Keycard Positioning
After tapping 2 of 3 Keycard Backup, Passport Prime will display an NFC positioning guide. Passport Prime uses short-range NFC for secure communication with the Keycards. For the best connection, center the Keycard over the camera area to form a “T” shape as shown on screen.
Passport Prime will vibrate when the Keycard is in the correct position. Hold the card completely still during each write - saving data takes a few seconds.
Tapping Your Keycards
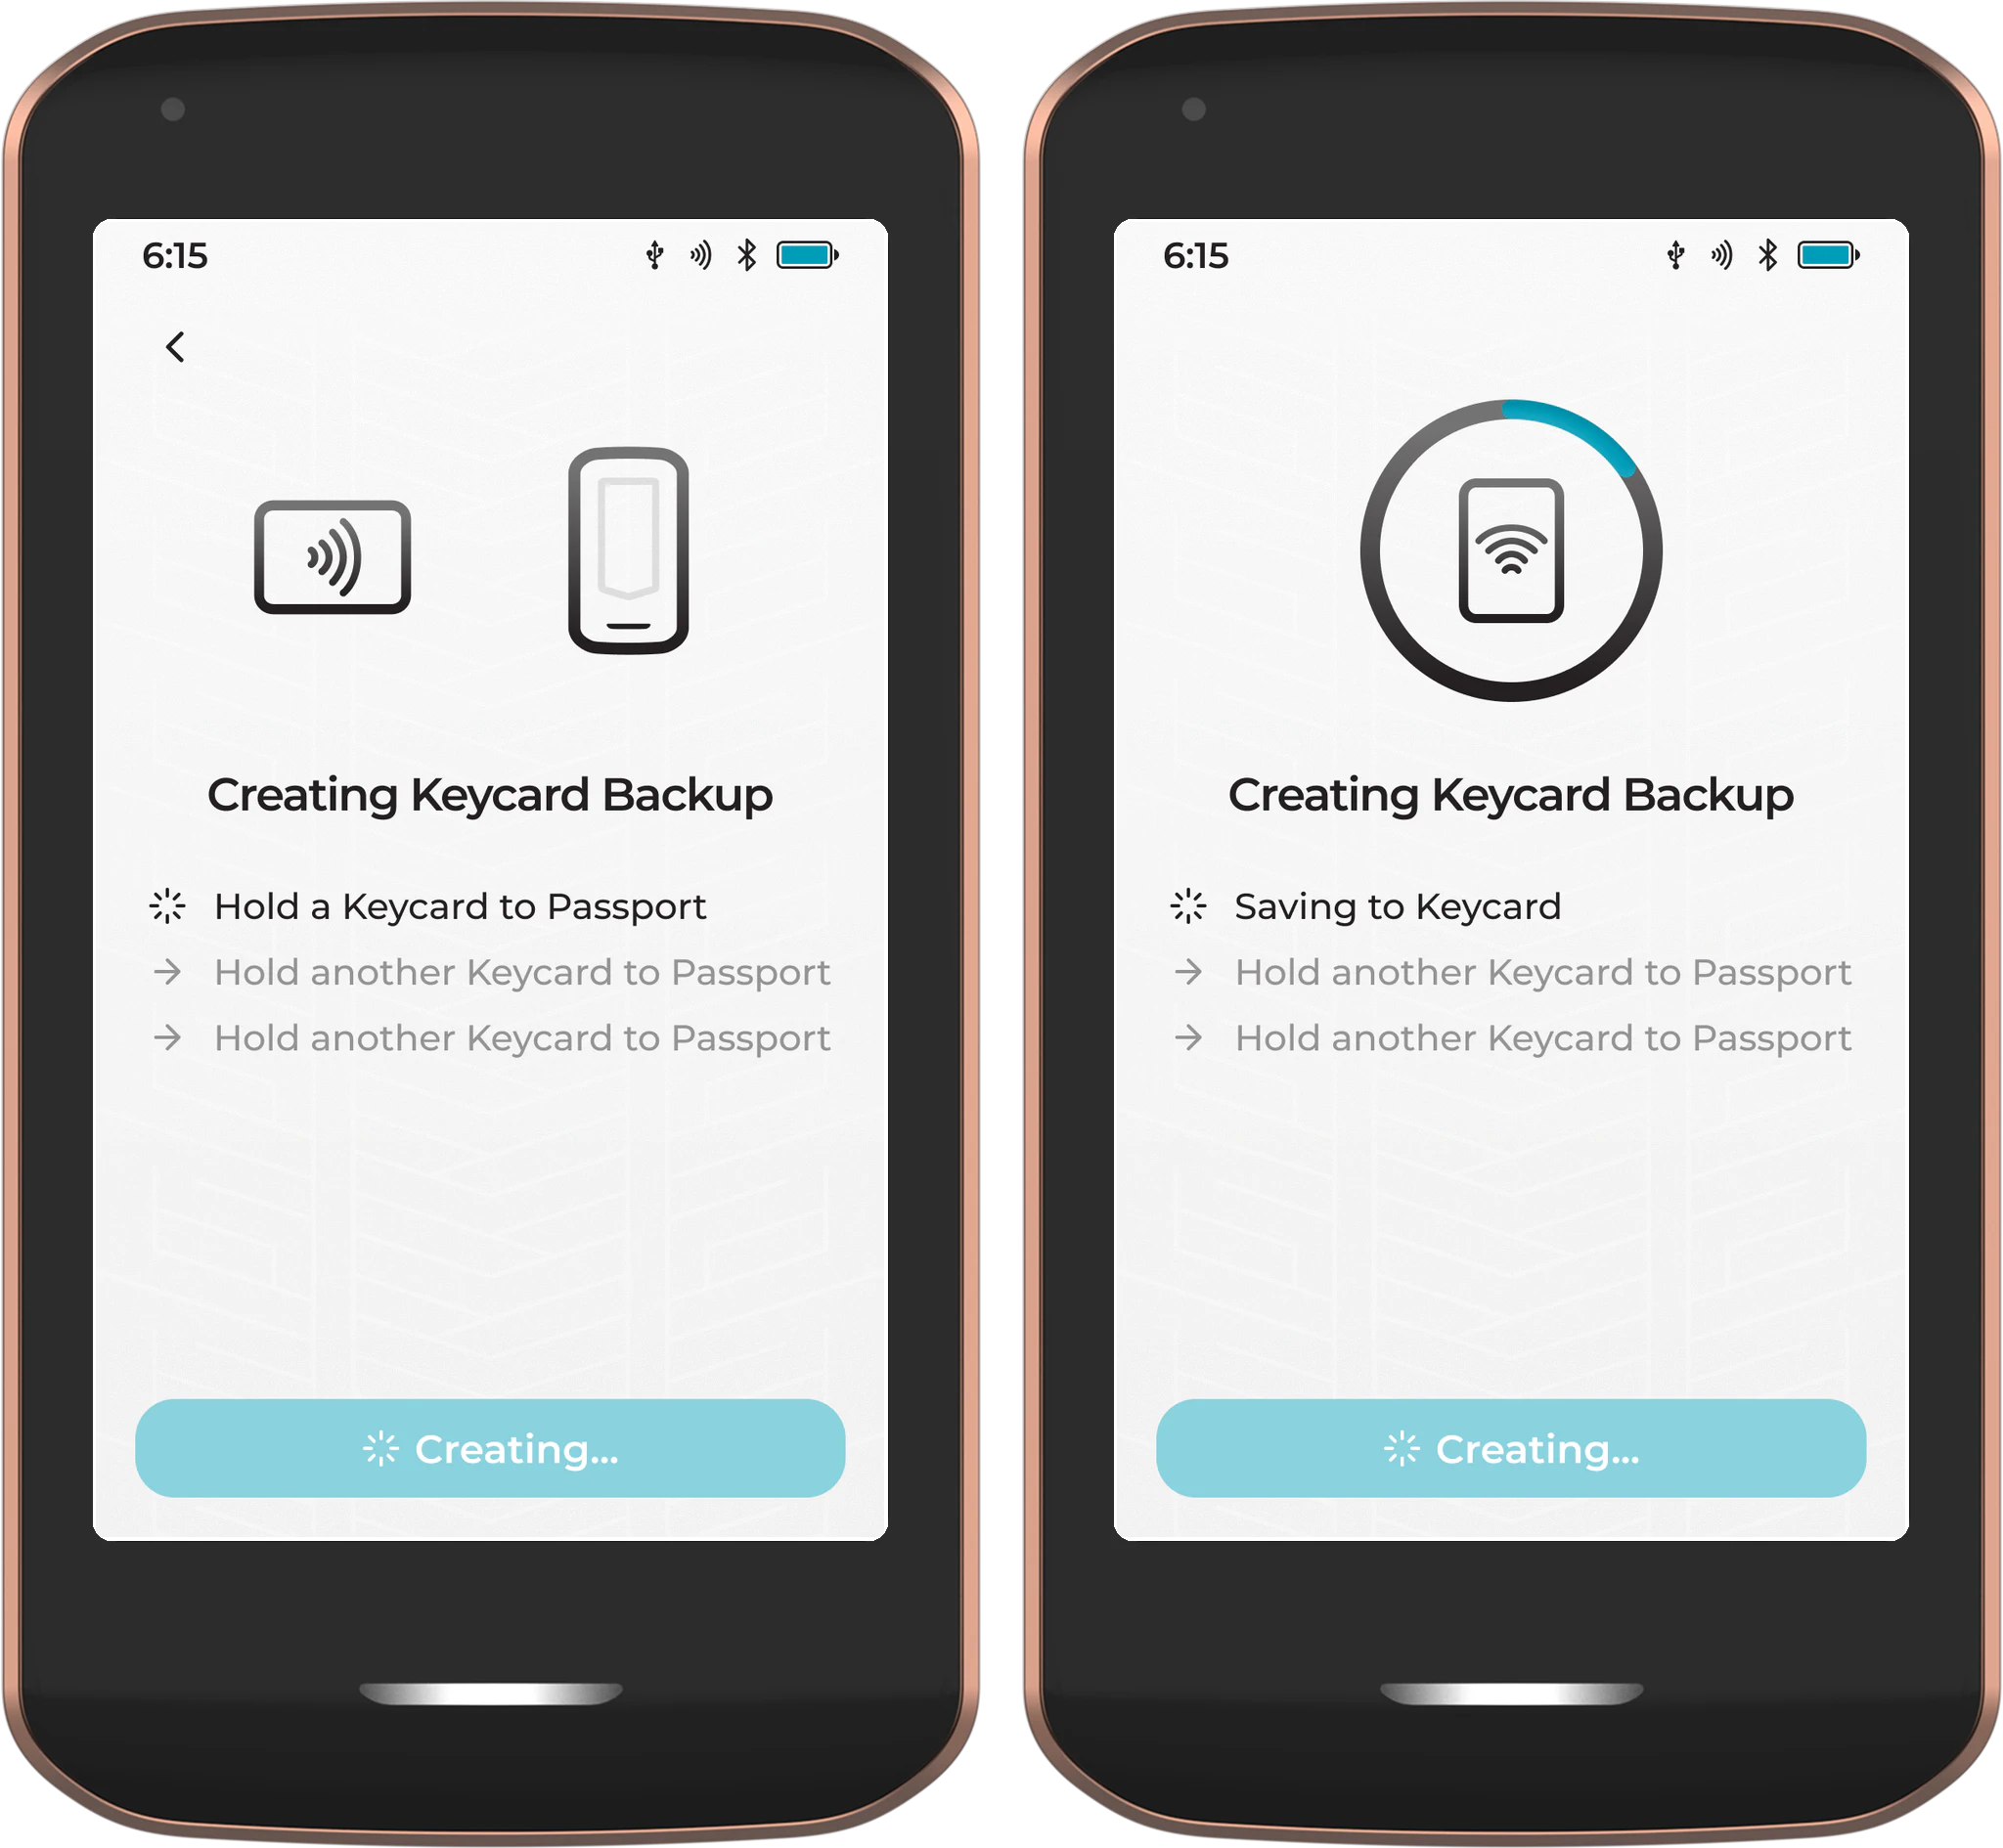
After confirming the NFC tip, you will be prompted to tap each Keycard to Passport Prime, one at a time. The screen will guide you through each step:
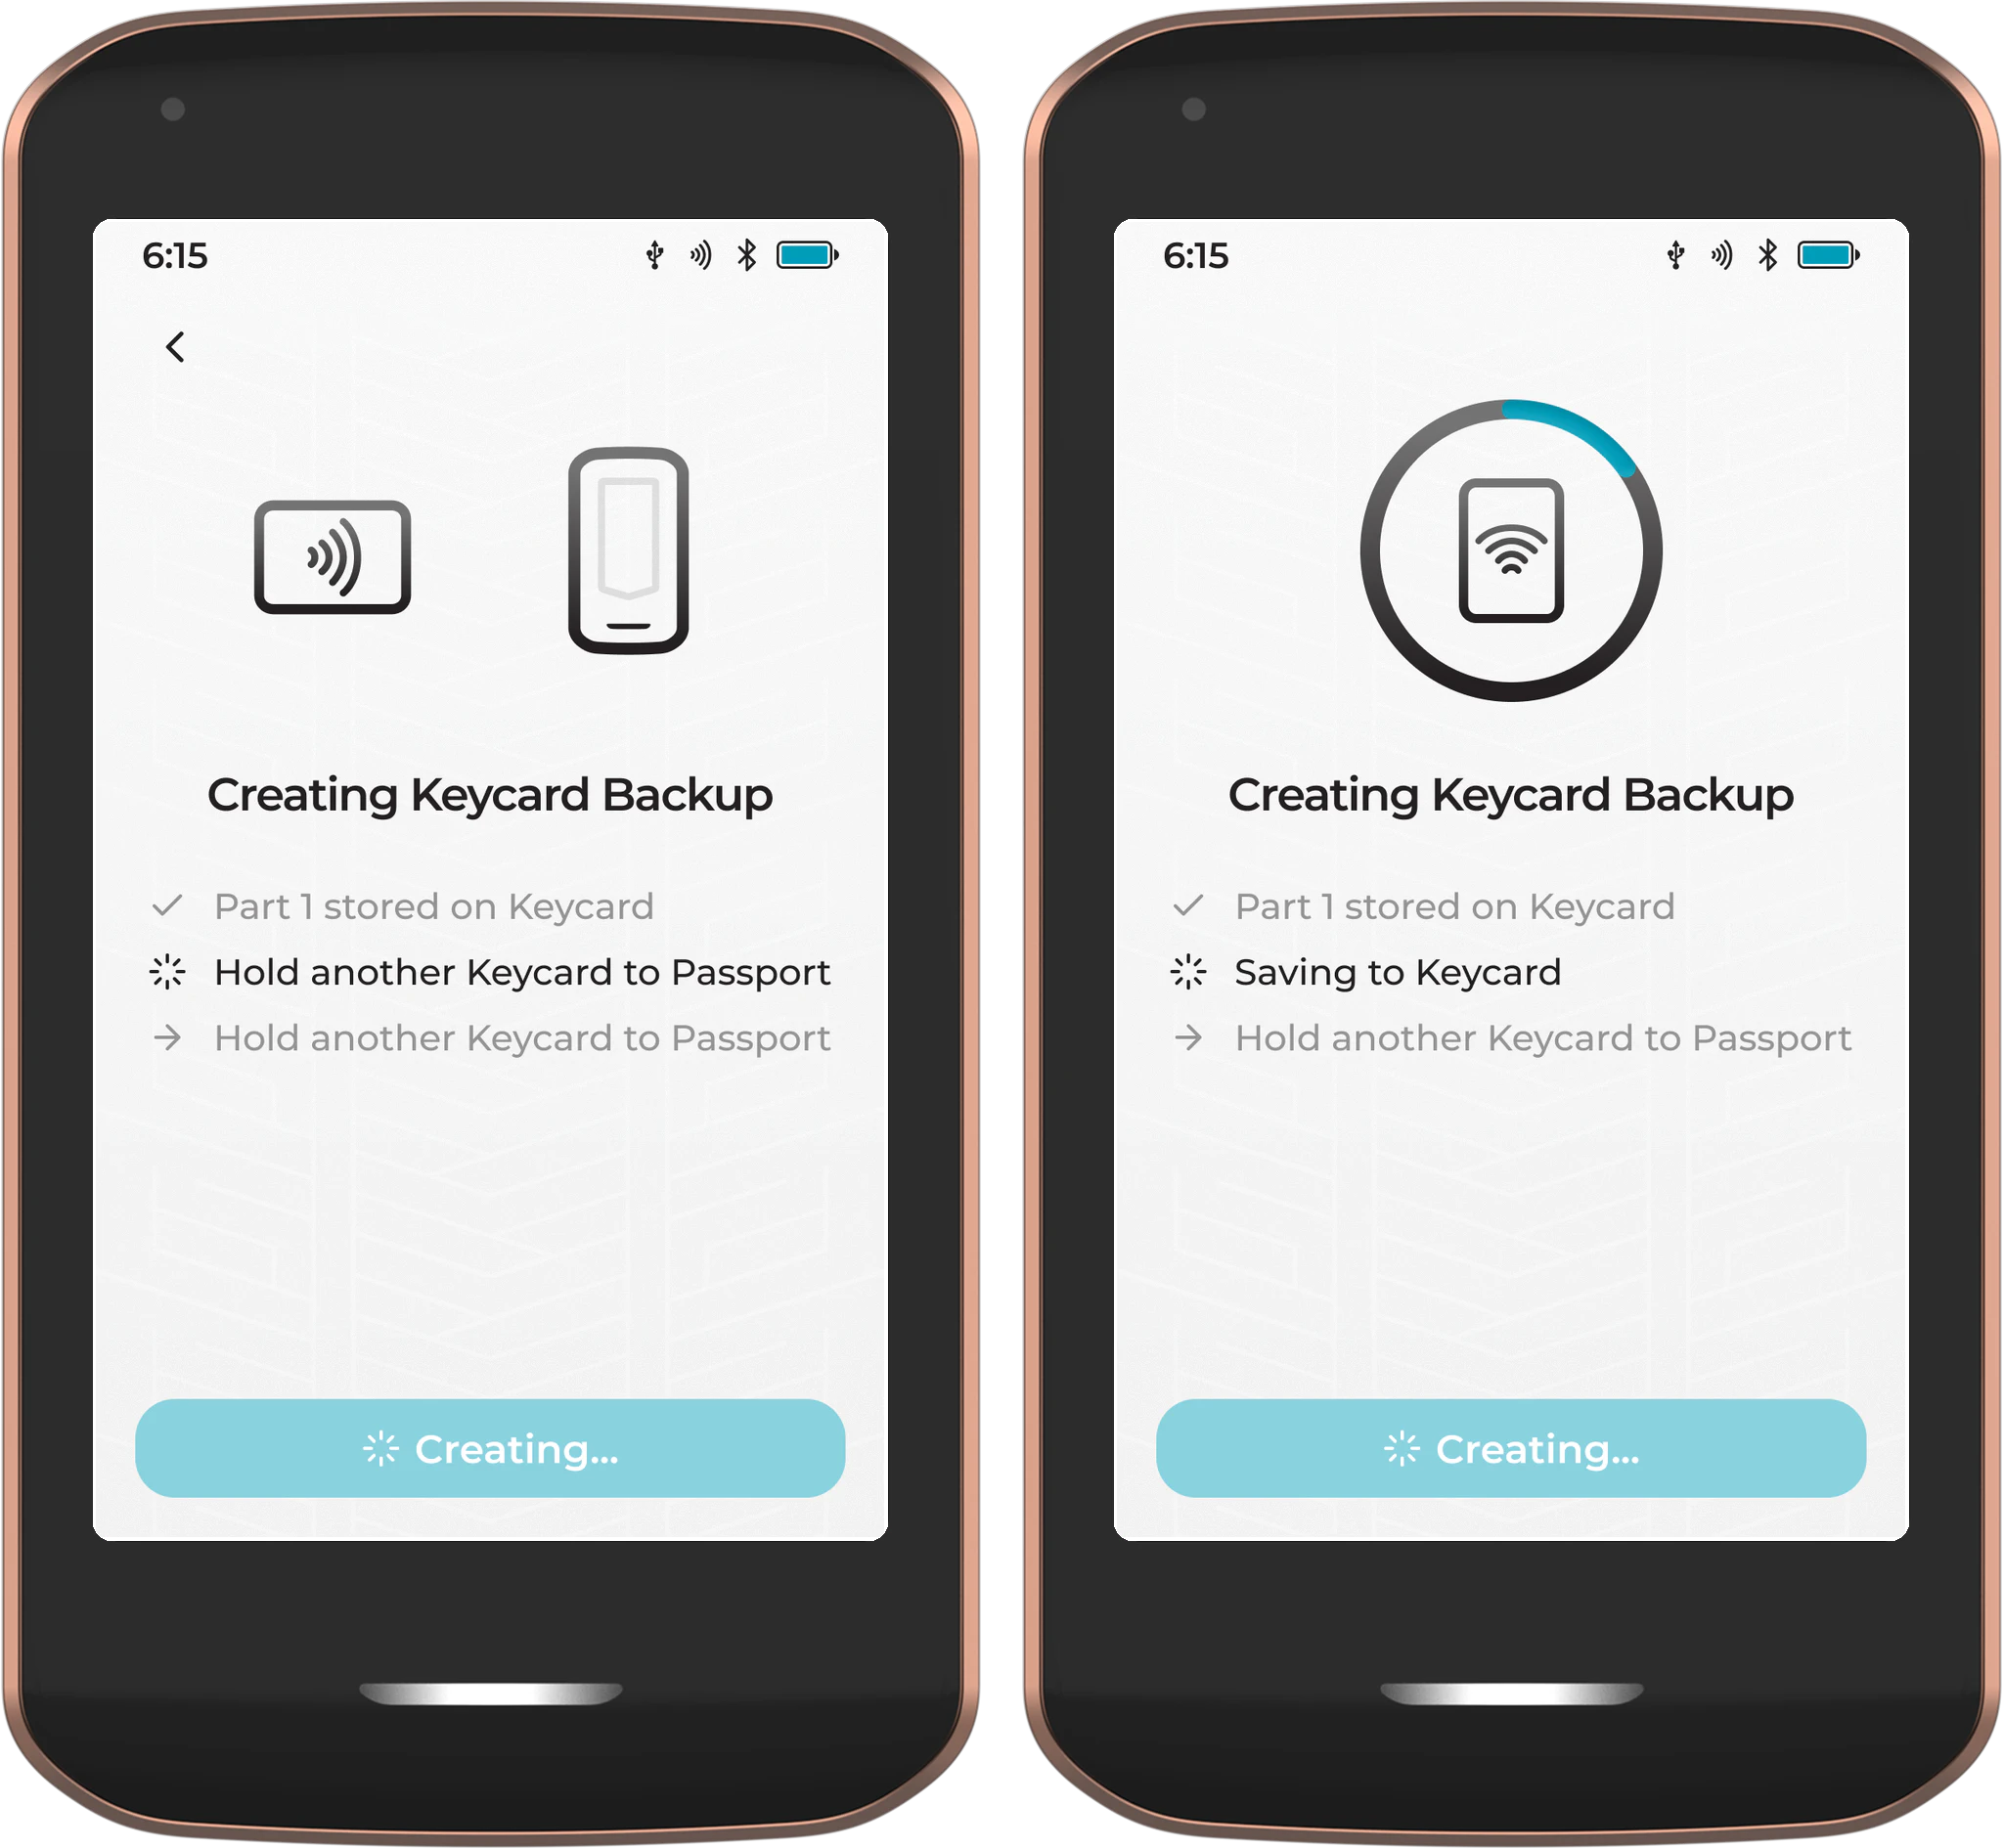
Keycard 1 - Hold the first Keycard to the back of Passport Prime. Wait for the on-screen confirmation that Part 1 has been stored.
Keycard 2 - Remove the first Keycard and hold the second Keycard to the back of Passport Prime. Wait for confirmation that Part 2 has been stored.
Keycard 3 - Remove the second Keycard and hold the third and final Keycard to the back of Passport Prime. Wait for confirmation that Part 3 has been stored.
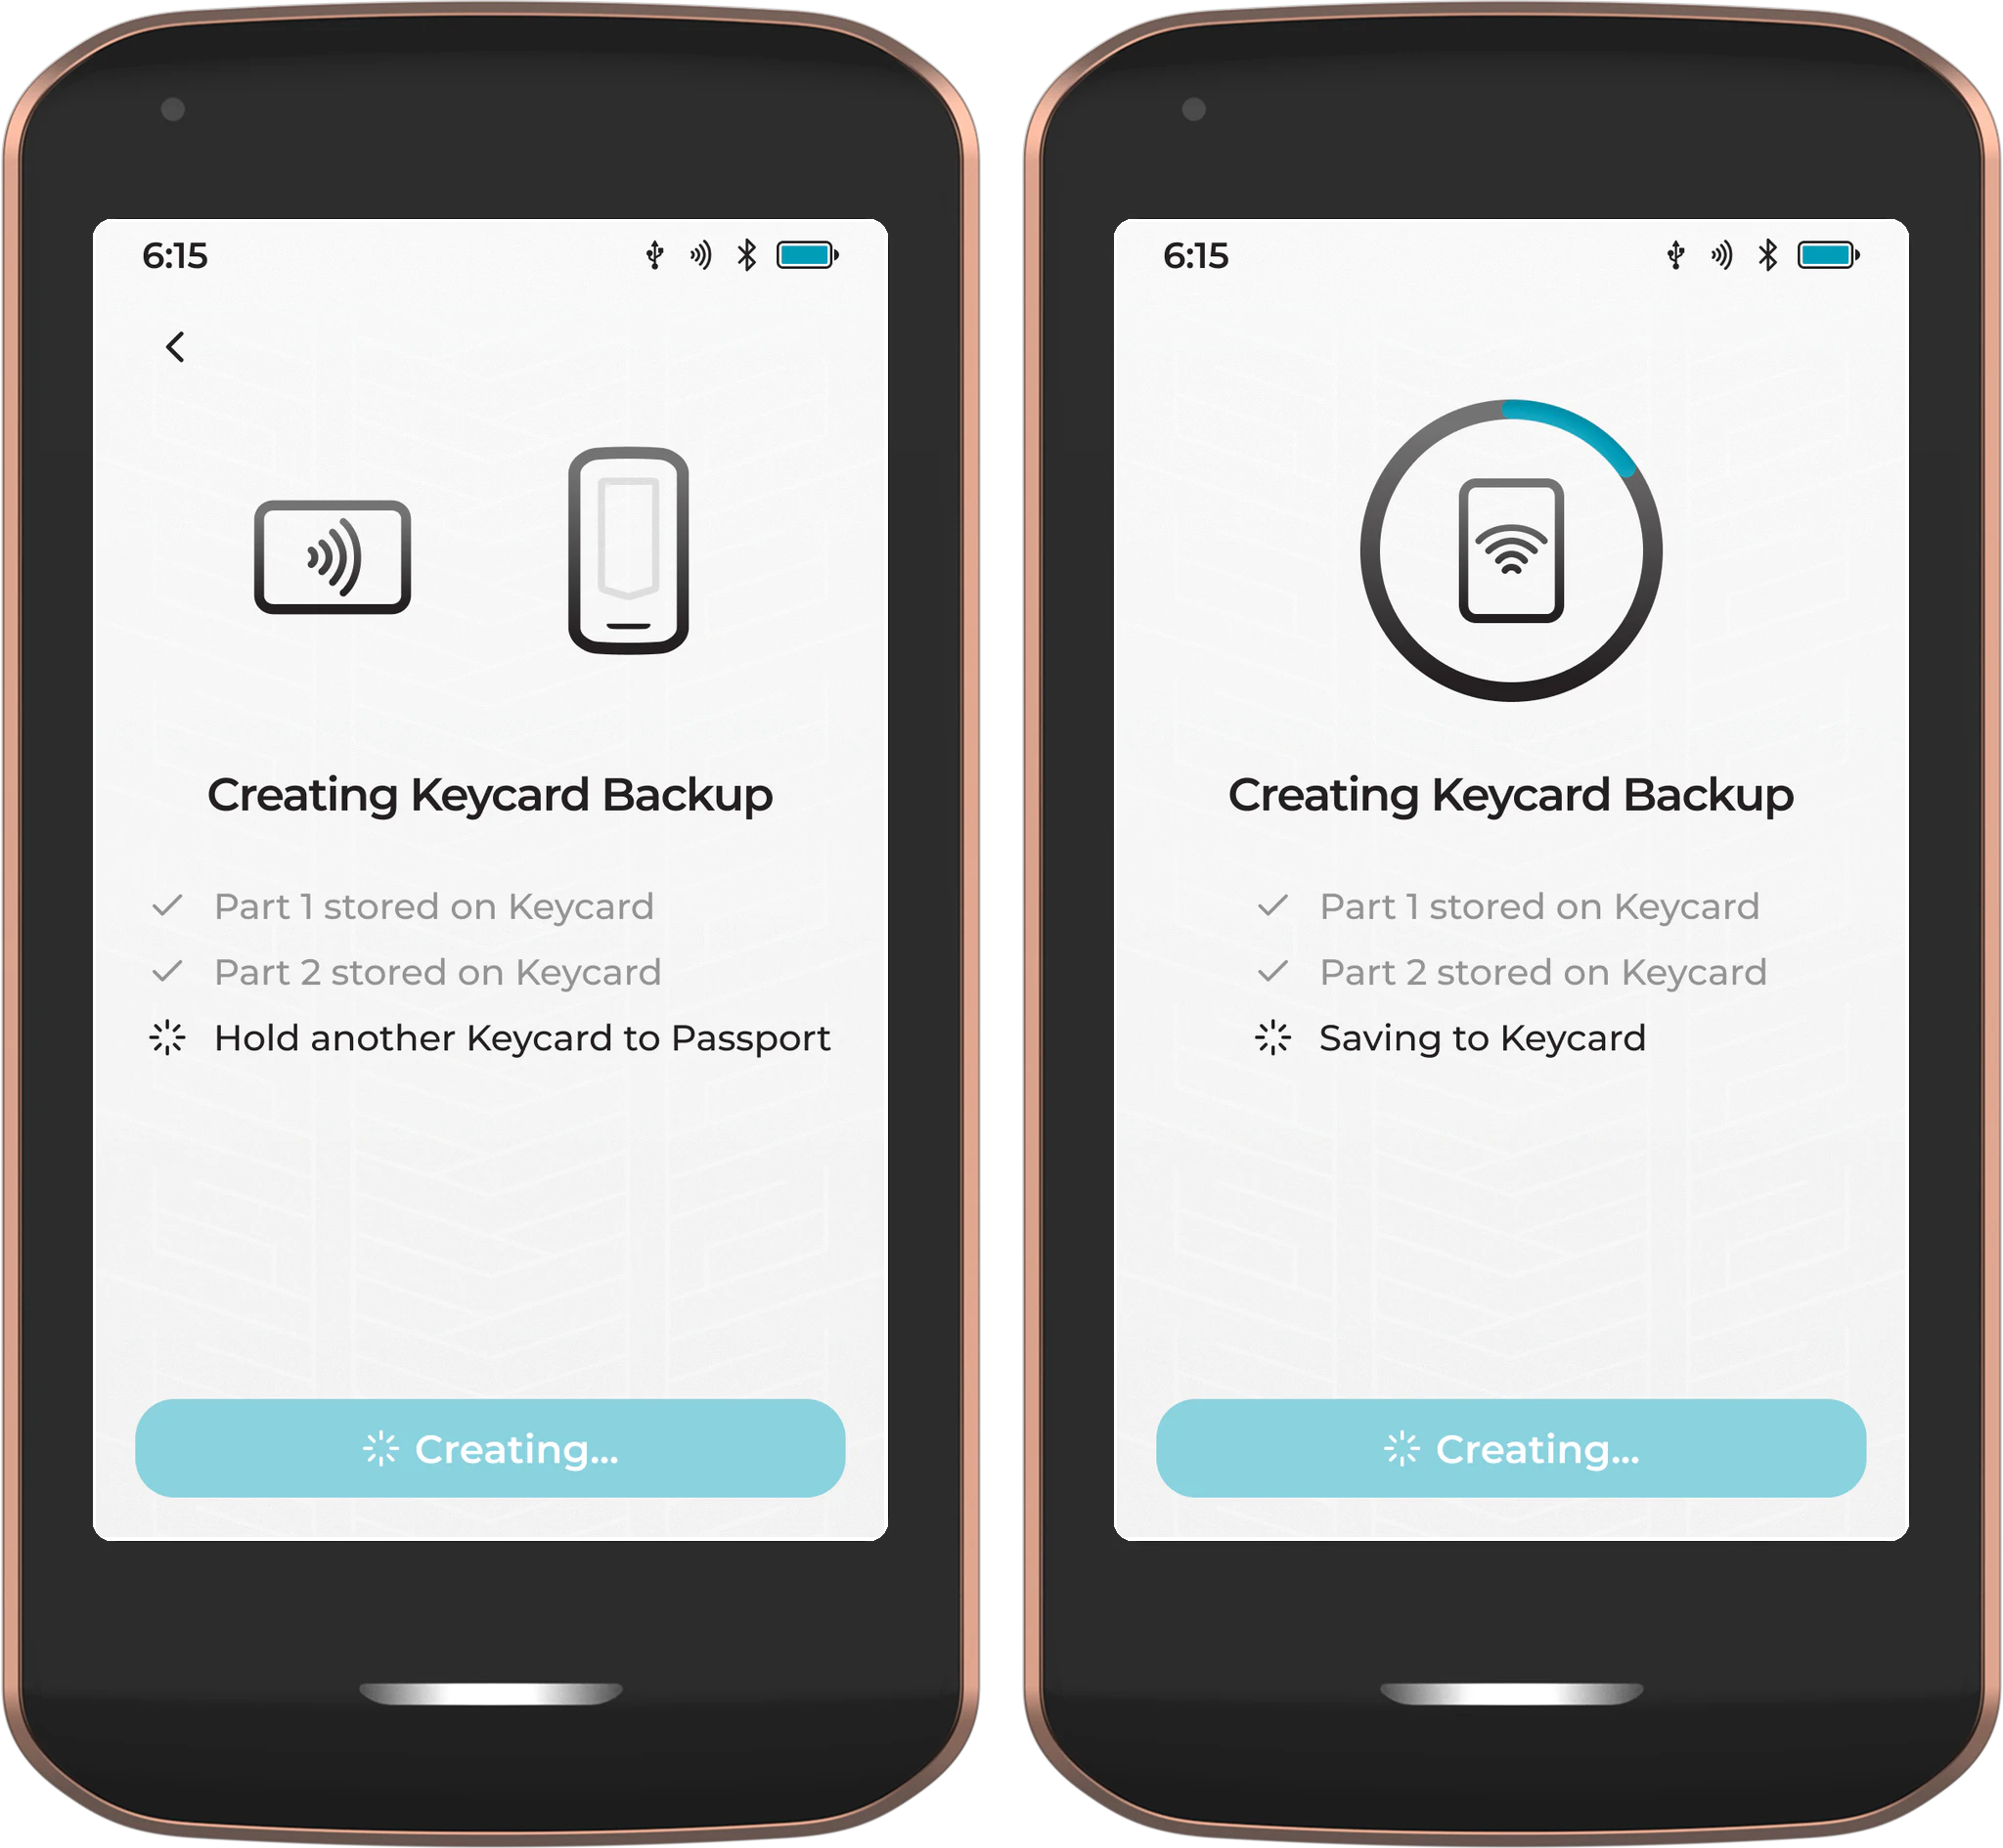
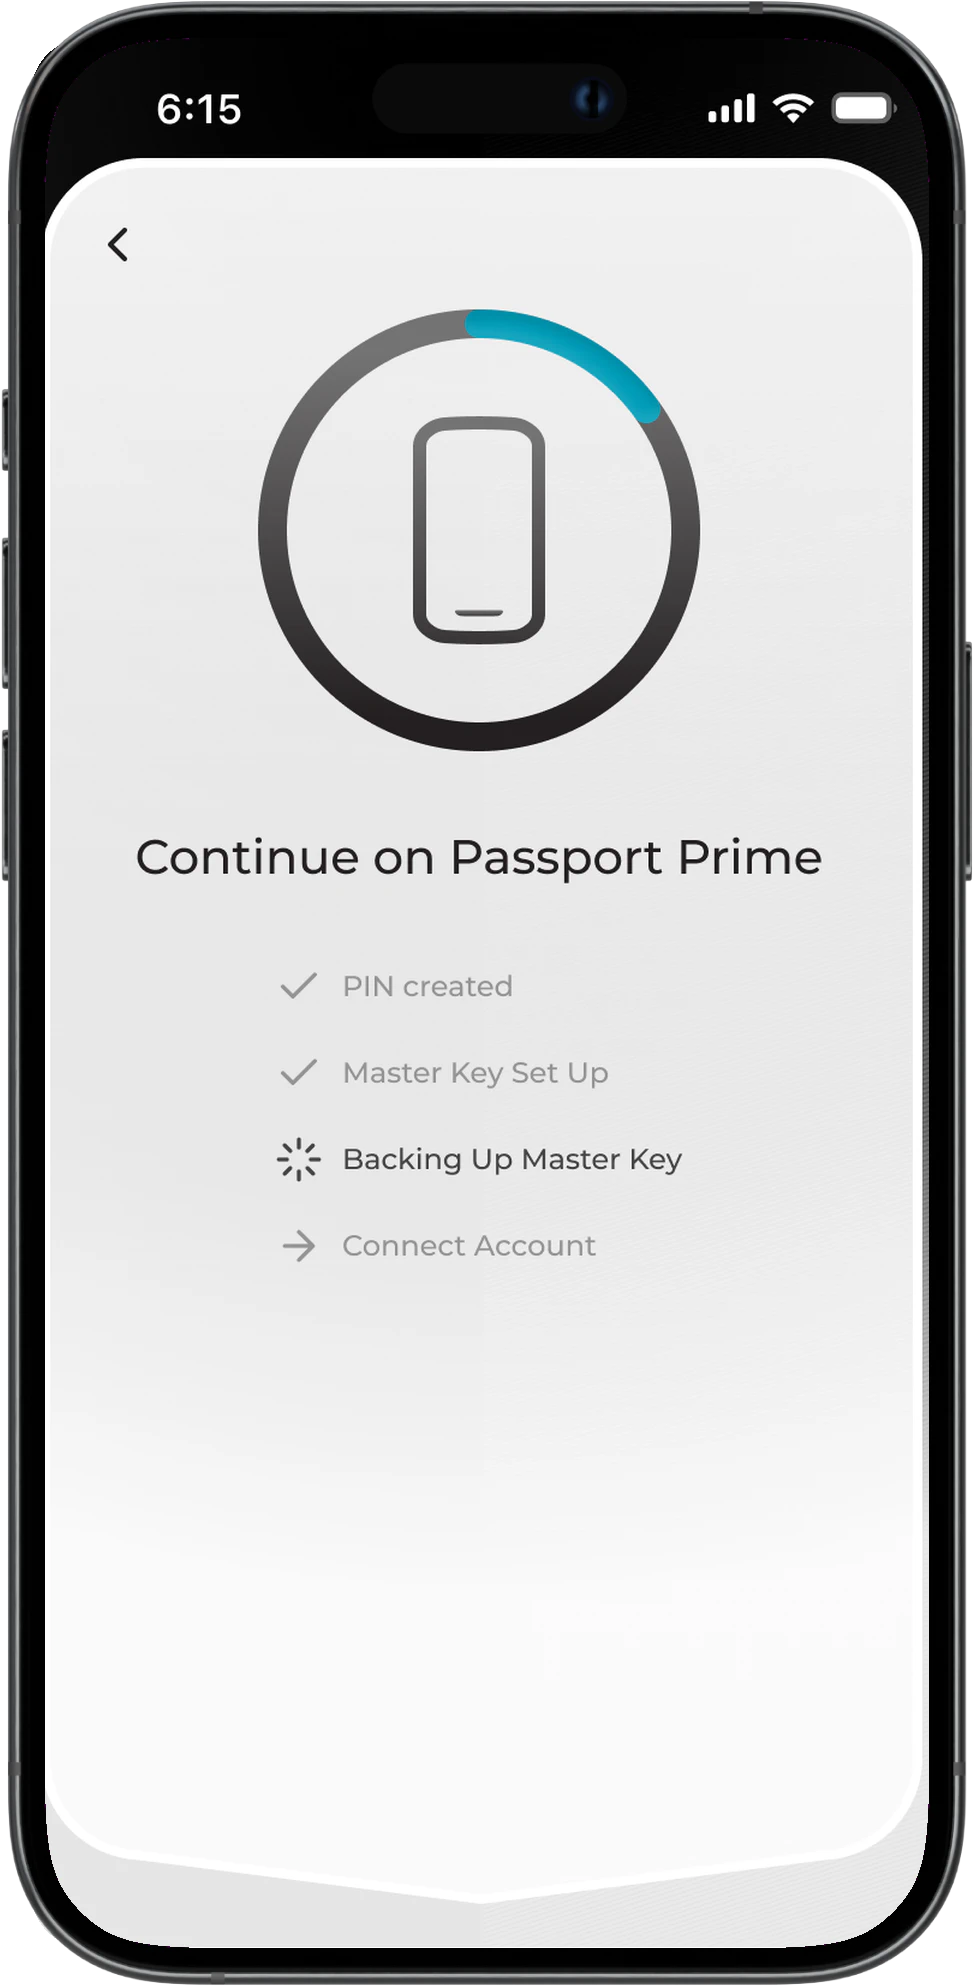
During this process, Envoy will display a simple progress screen confirming that the backup is being created on Passport Prime.
Backup Complete
Once all three Keycards have been written, Passport Prime will confirm that your Keycard Backup has been created successfully.
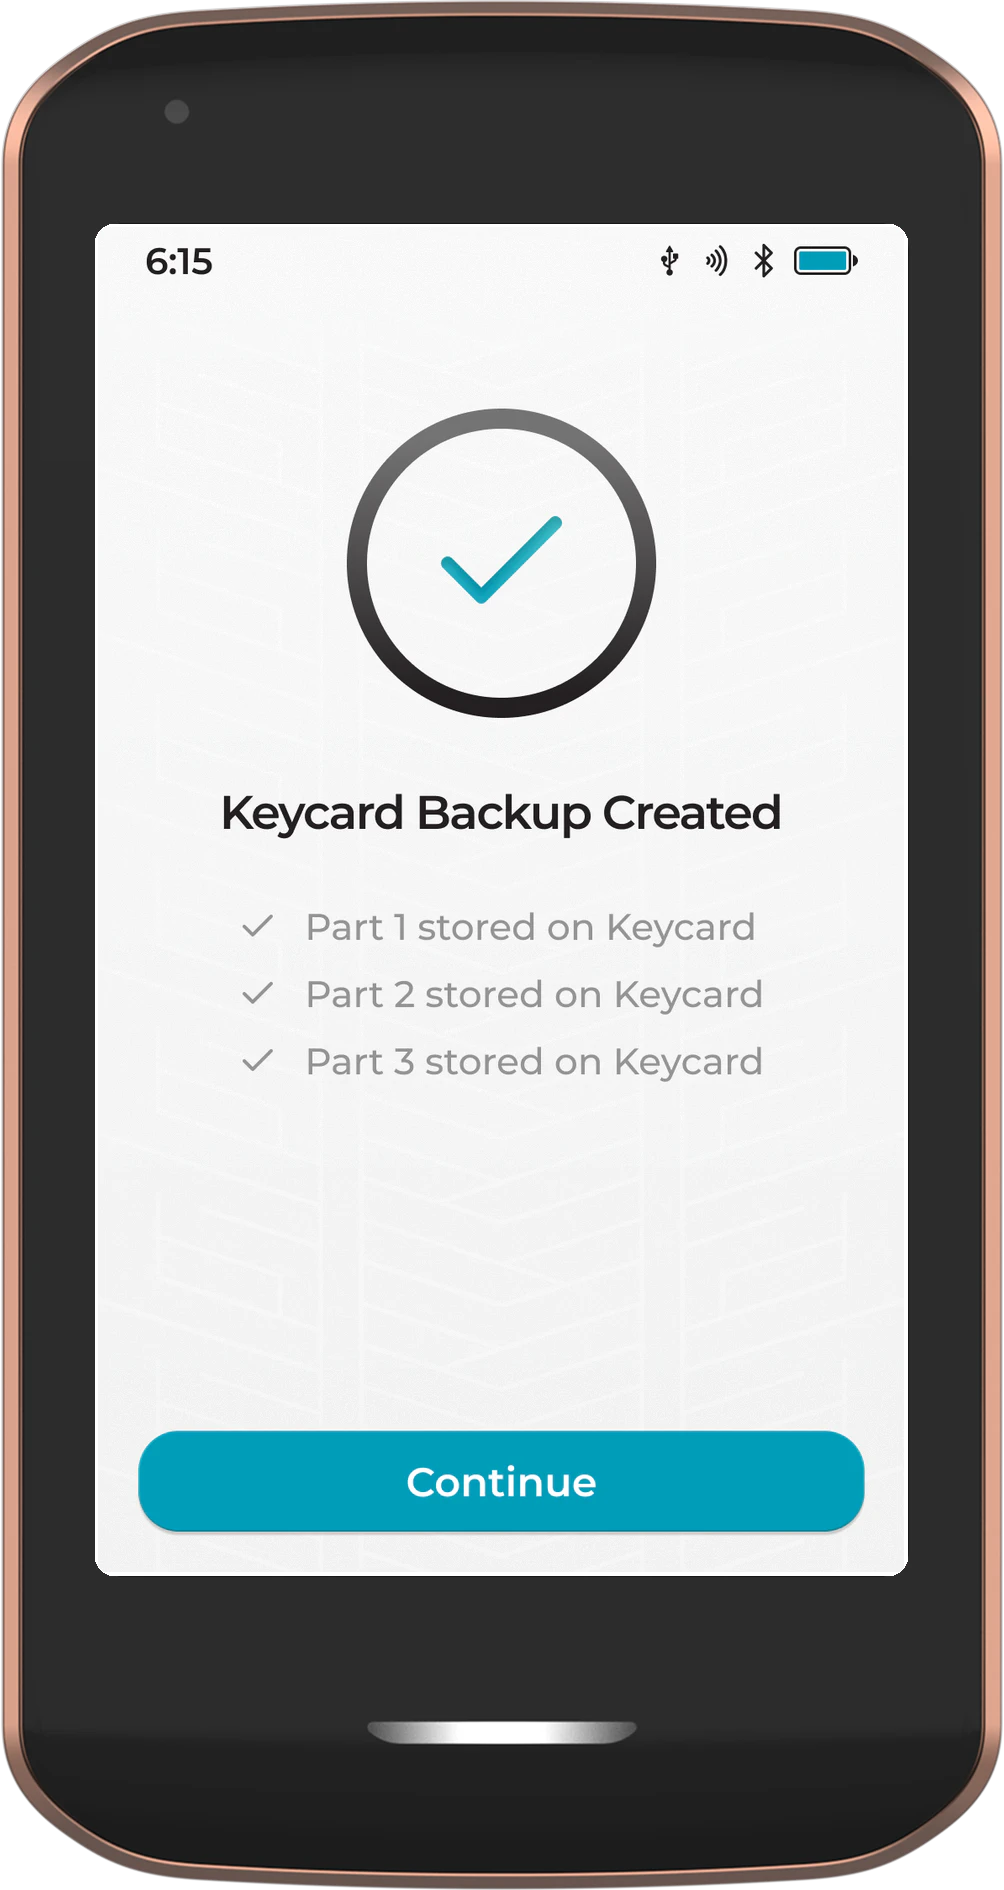
It requires a compromise of TWO Keycards for an attacker to restore your Master Key. We strongly recommend storing each Keycard in a separate, secure location for maximum resilience.
During a manual recovery, you will also have the option to import a settings.tar backup file to restore your previous device settings, accounts, and wallet configurations. - COMING SOON
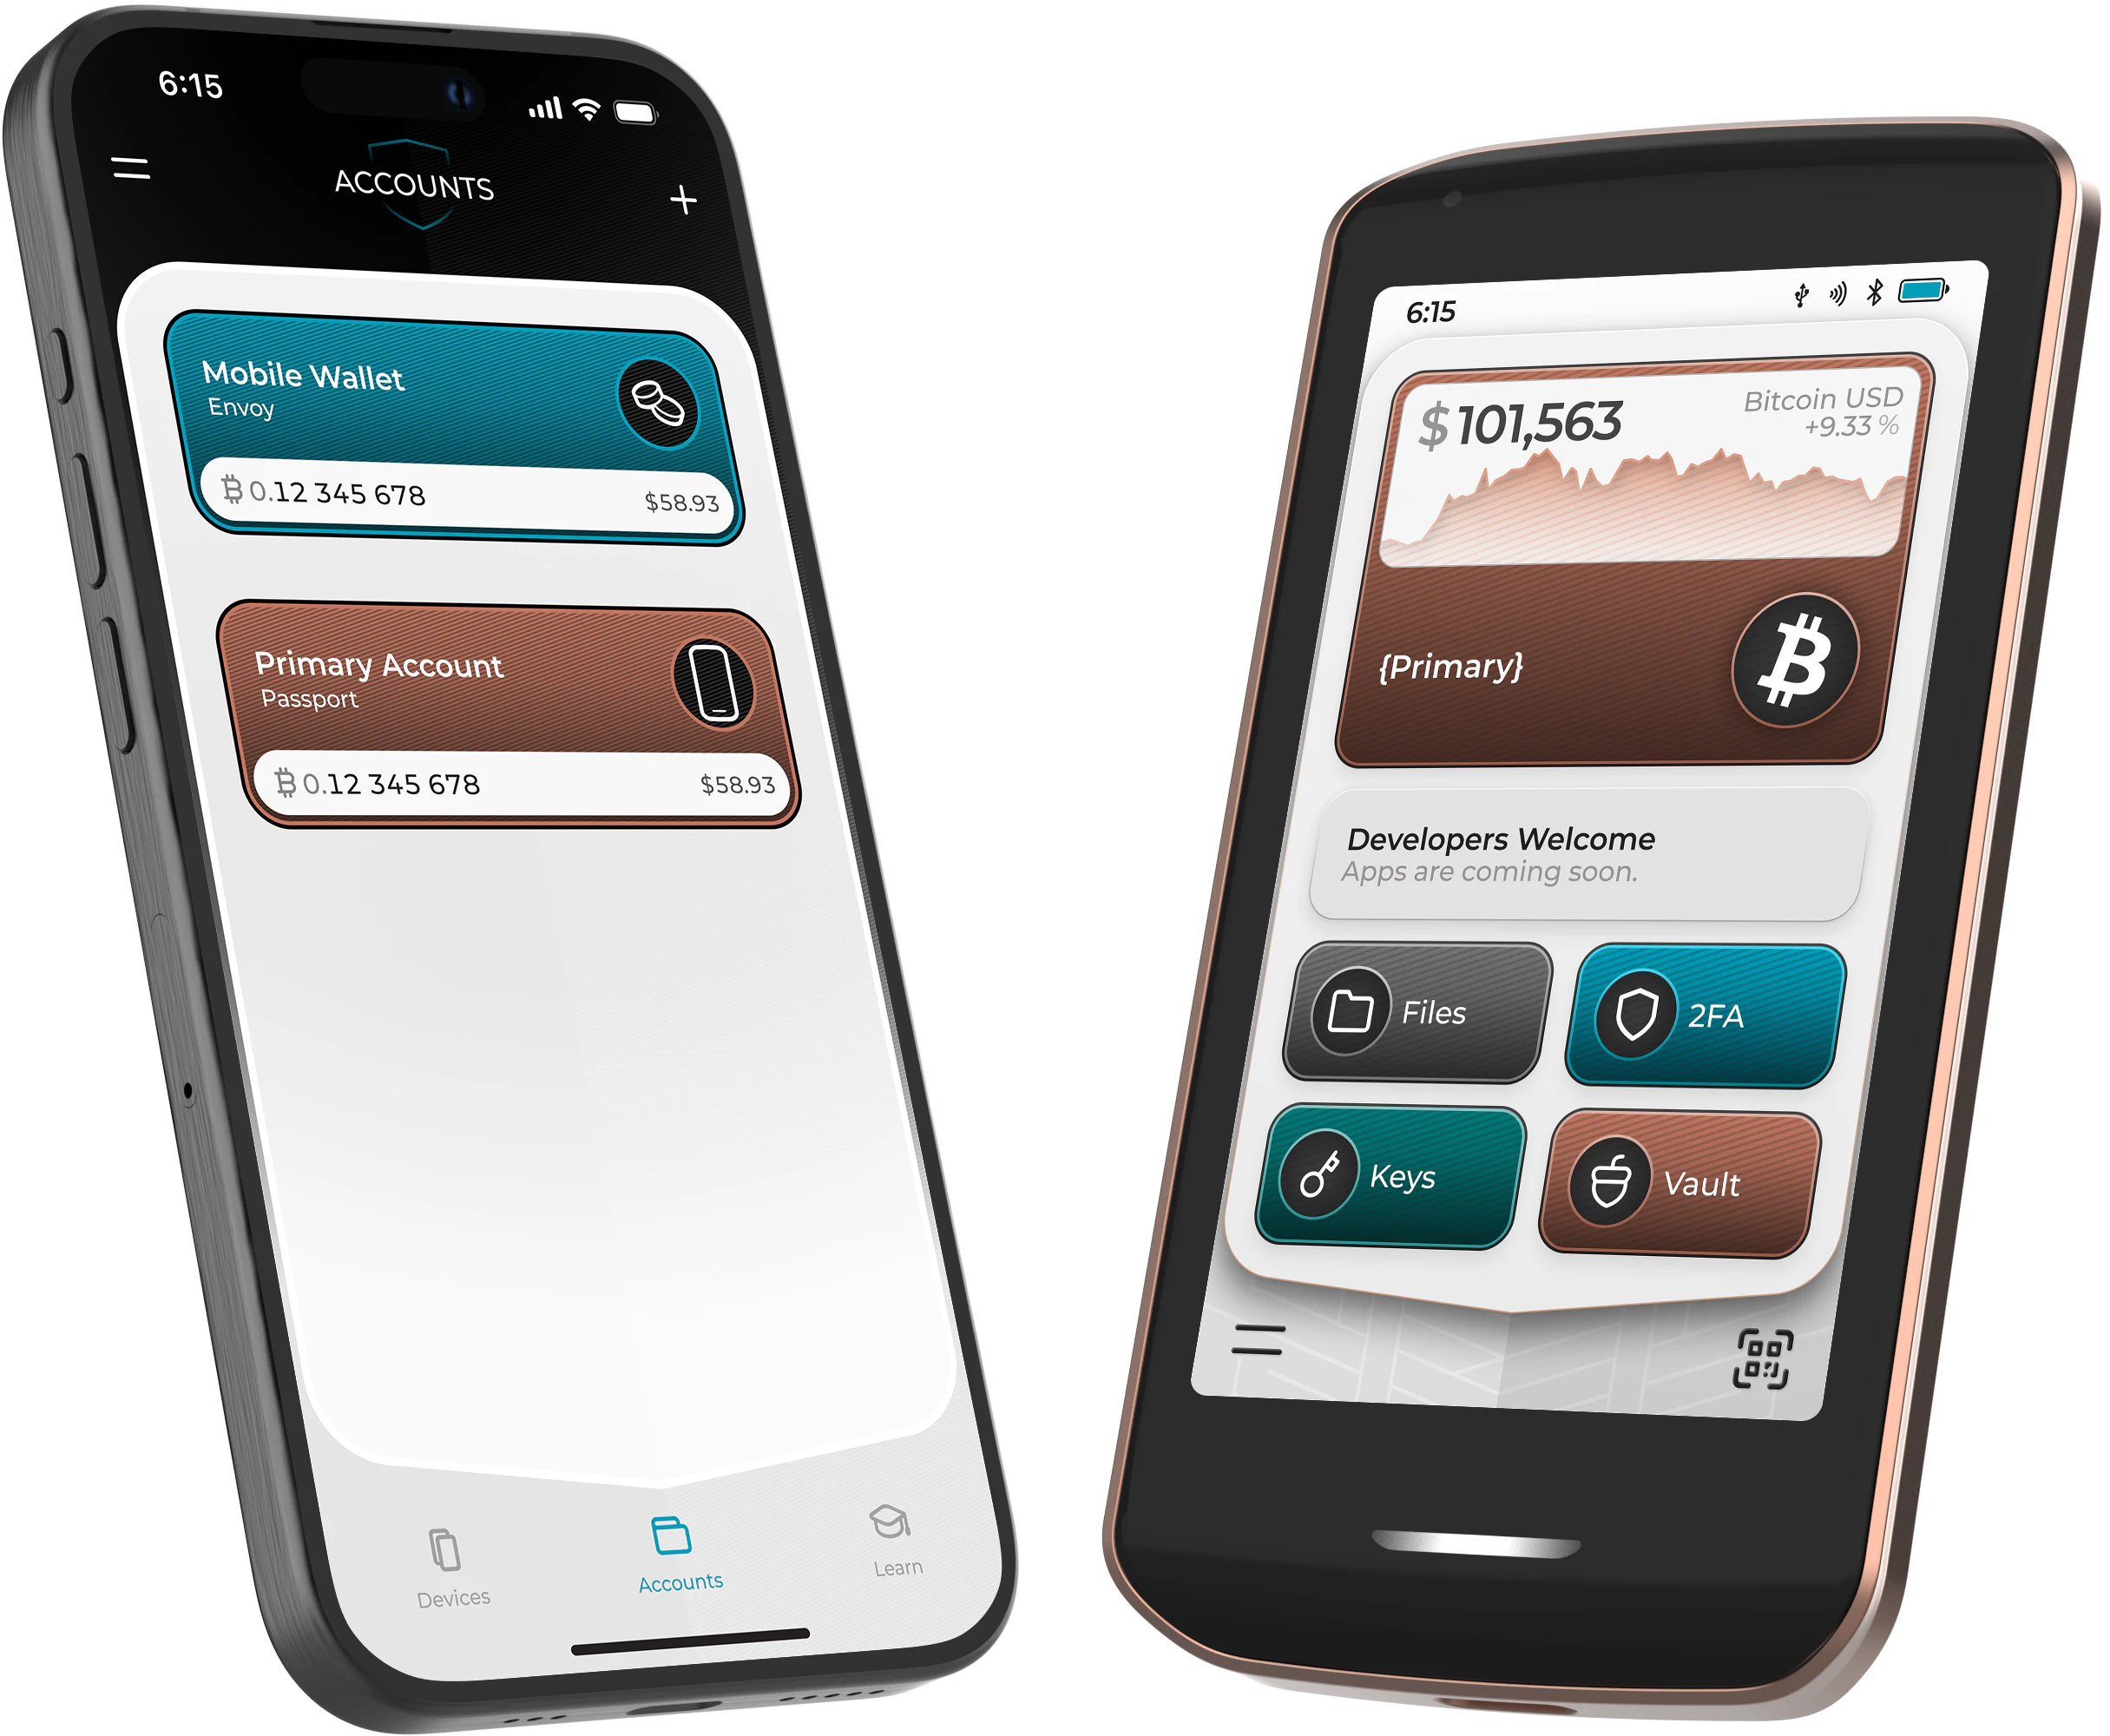
Finally Passport Prime will use the new Master Key to create your Primary Bitcoin account, then share the public details of this account with Envoy via QuantumLink. You will then be taken to the home screen.
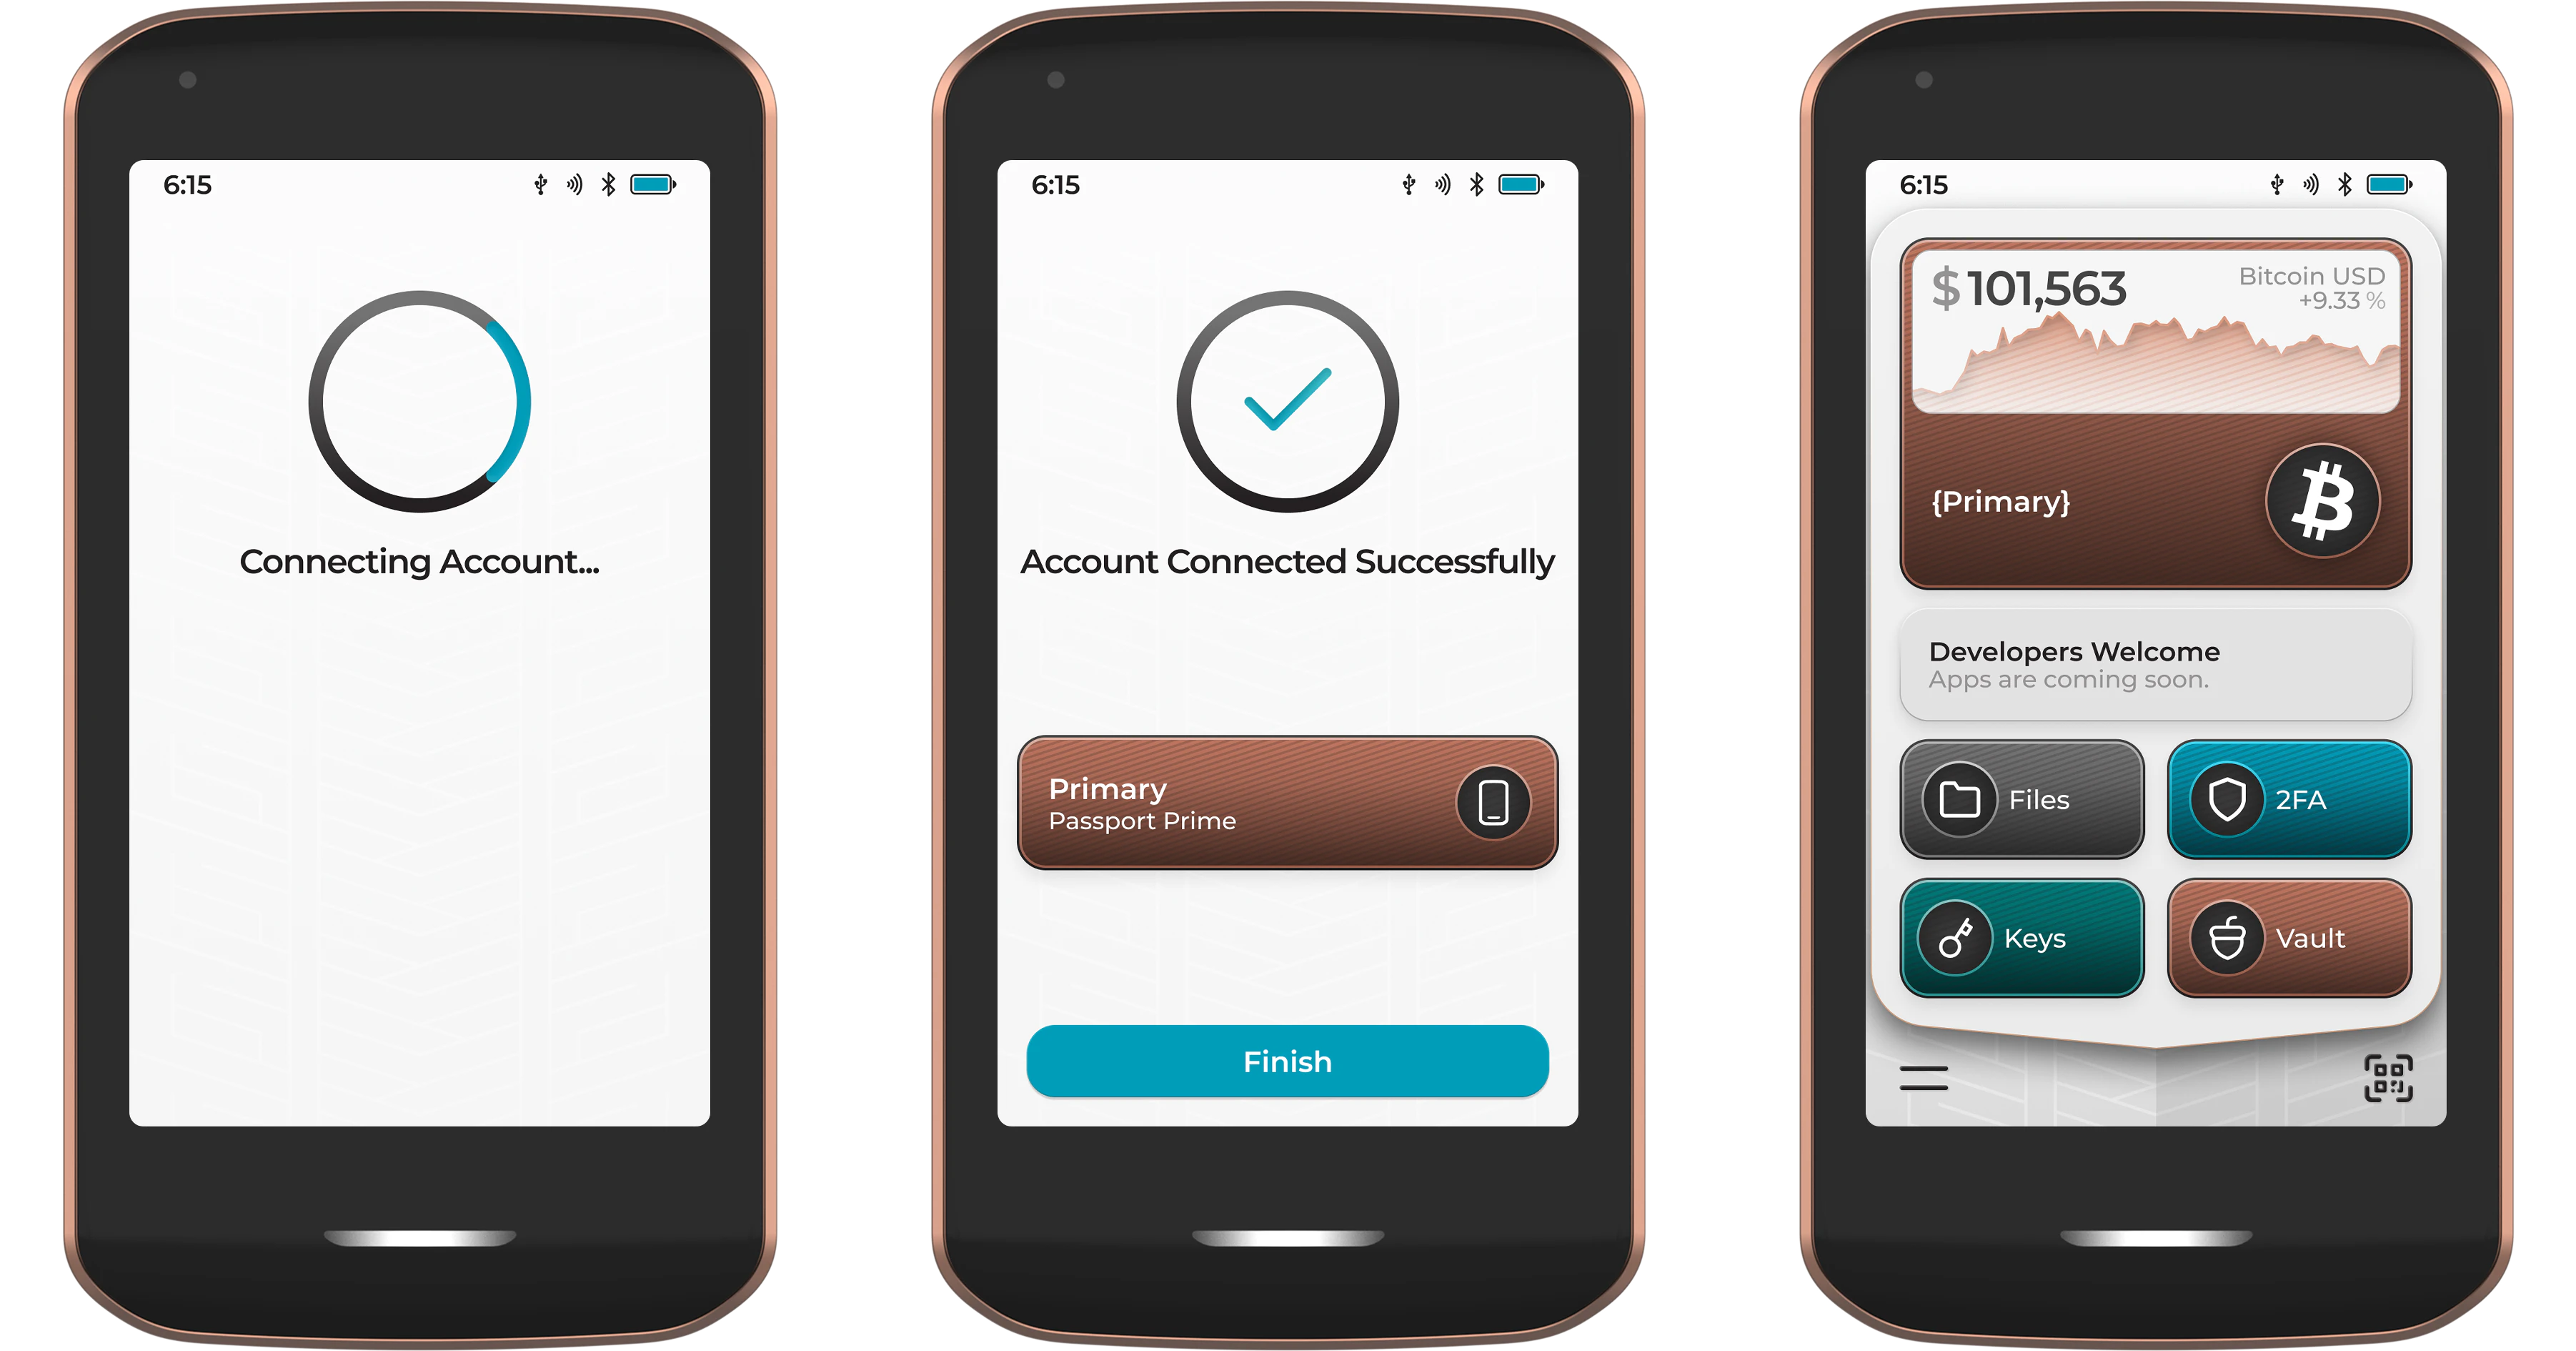
You’re All Set! Your new Passport Prime is now ready to use.
Step 6: Data Backup
Because you are not using Magic Backups, your Settings & Data backup file is not automatically synced to the Foundation server. You must create and manage this backup manually from the Passport Prime Settings screen.
The Settings & Data backup file includes your user-defined settings, installed apps and the data corresponding to each app. This file is stored in .mla format and is encrypted by the Master Key. It is not possible to access the data inside this file without knowledge of the Passport Prime Master Key.
Creating a Backup File
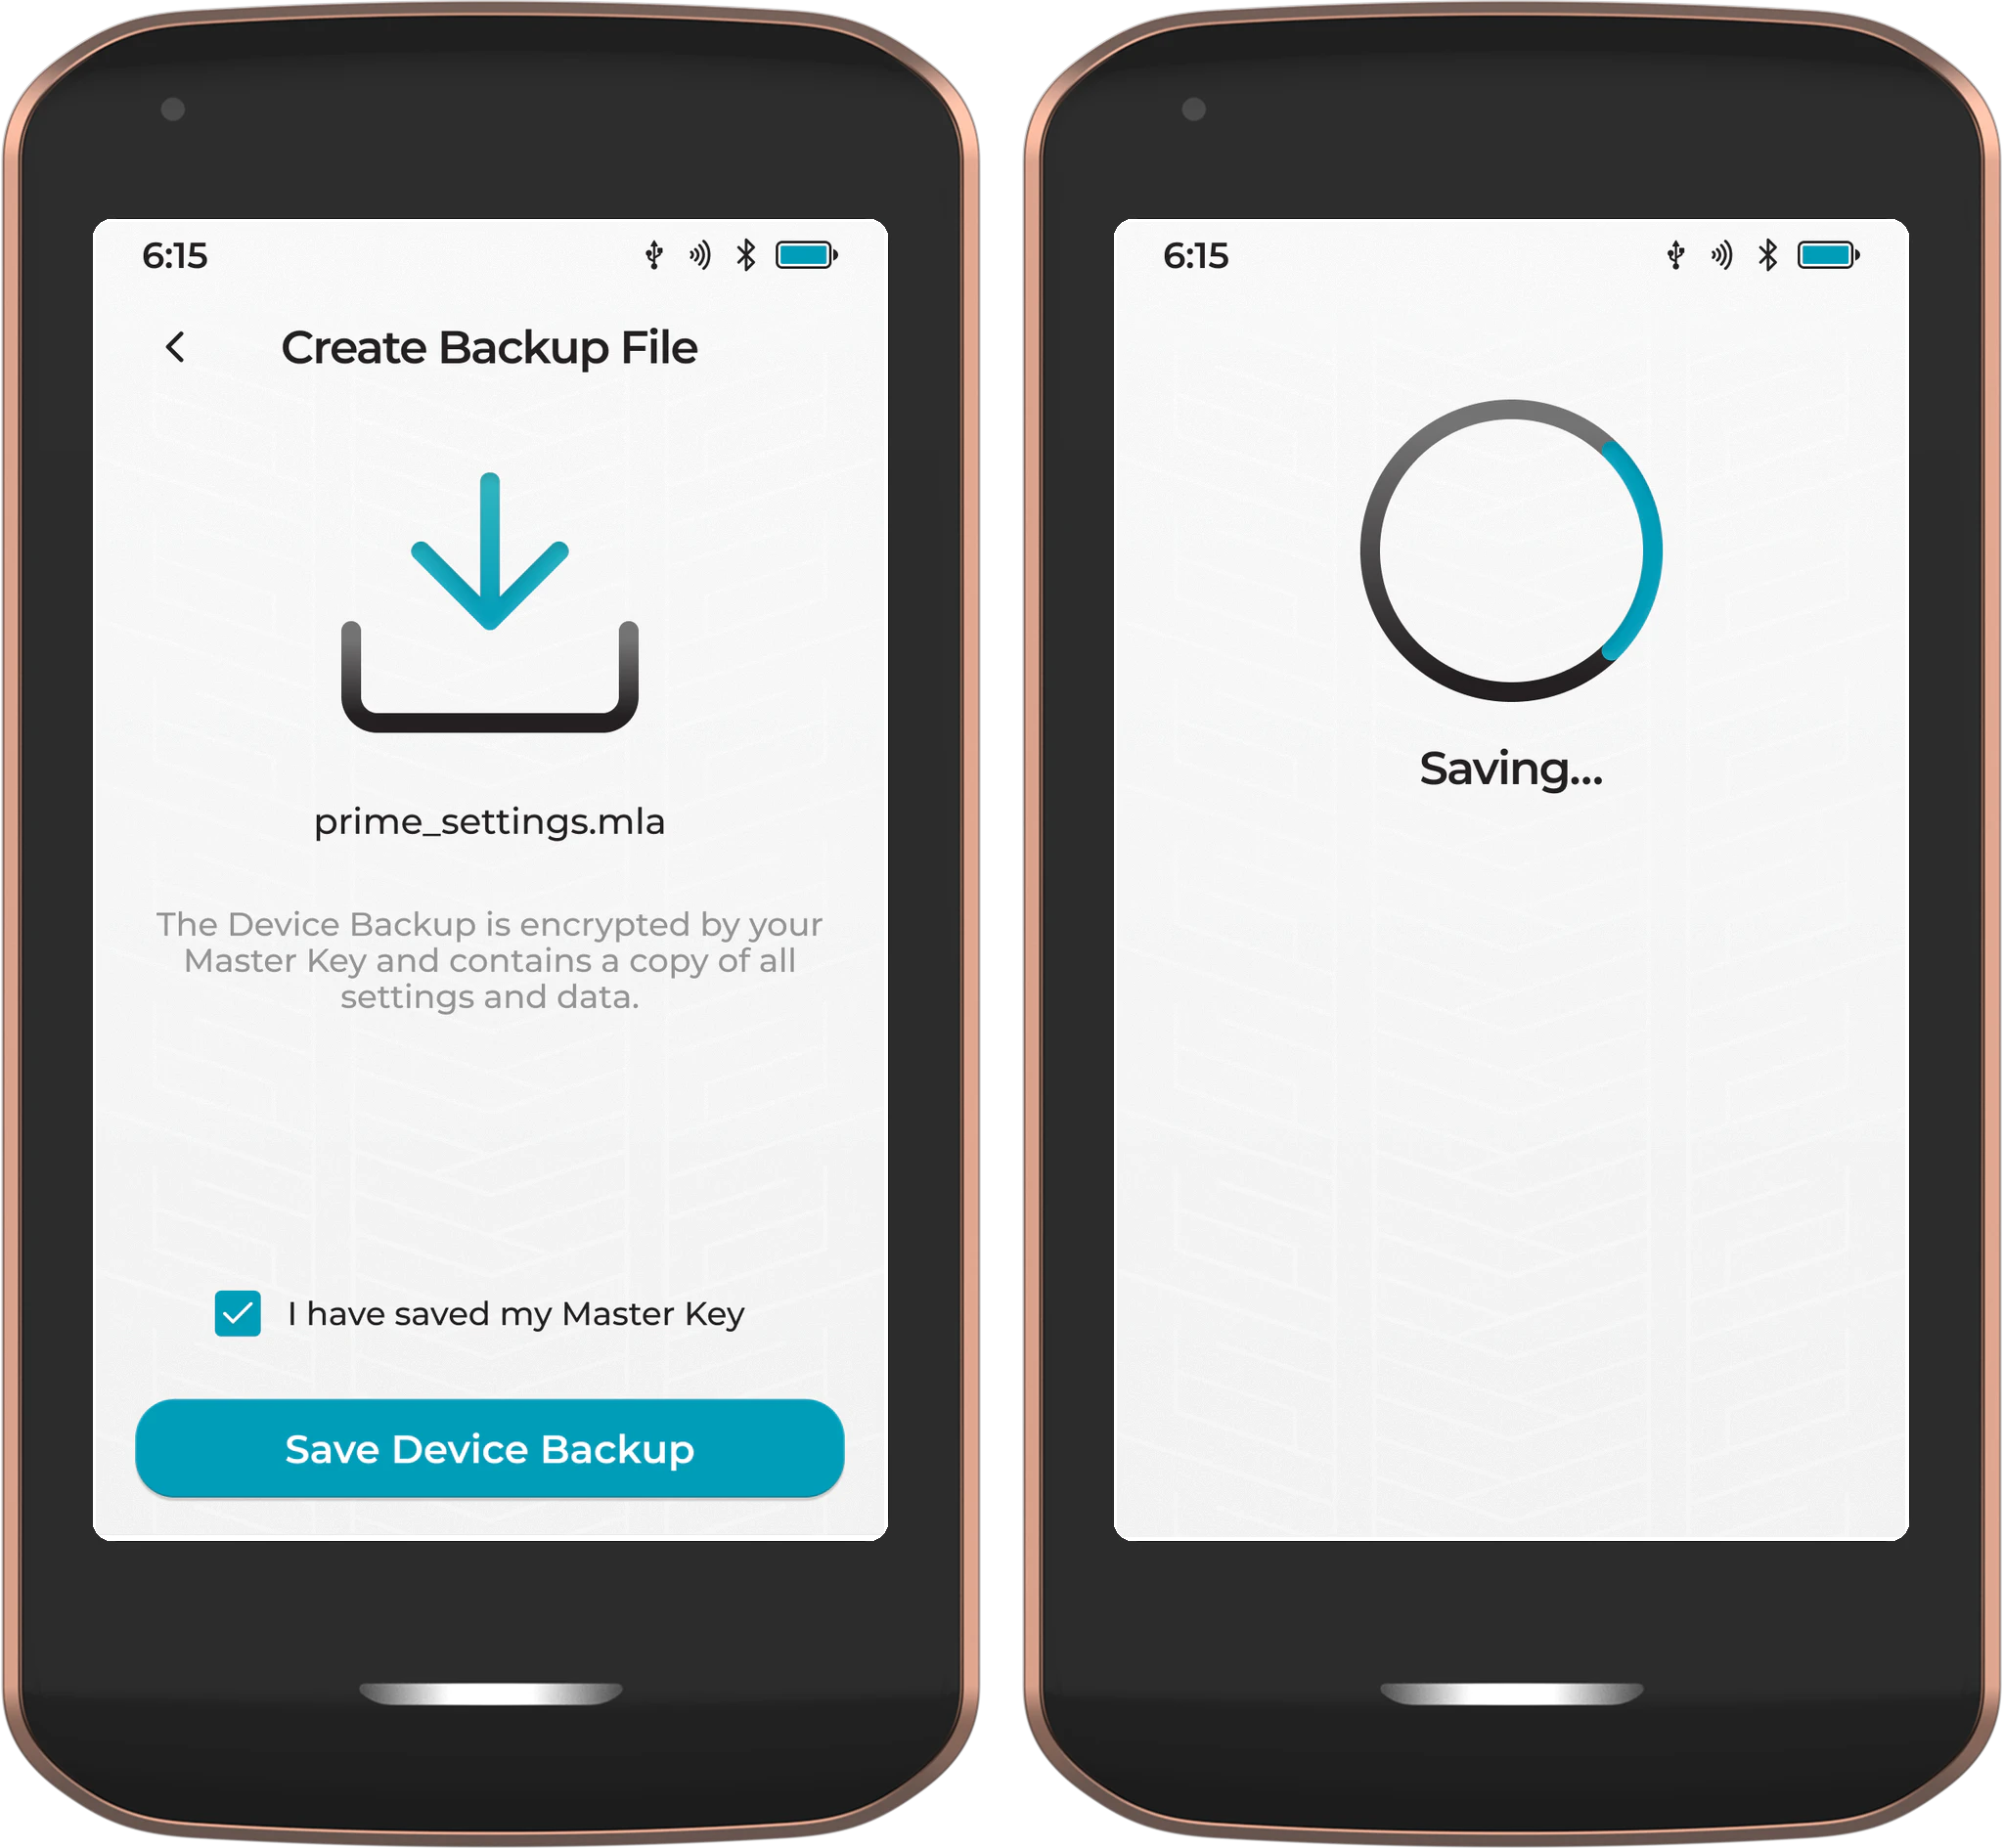
From the Passport Prime home screen, navigate to Settings > Backups > Settings & Data Backup and tap Create Backup File.
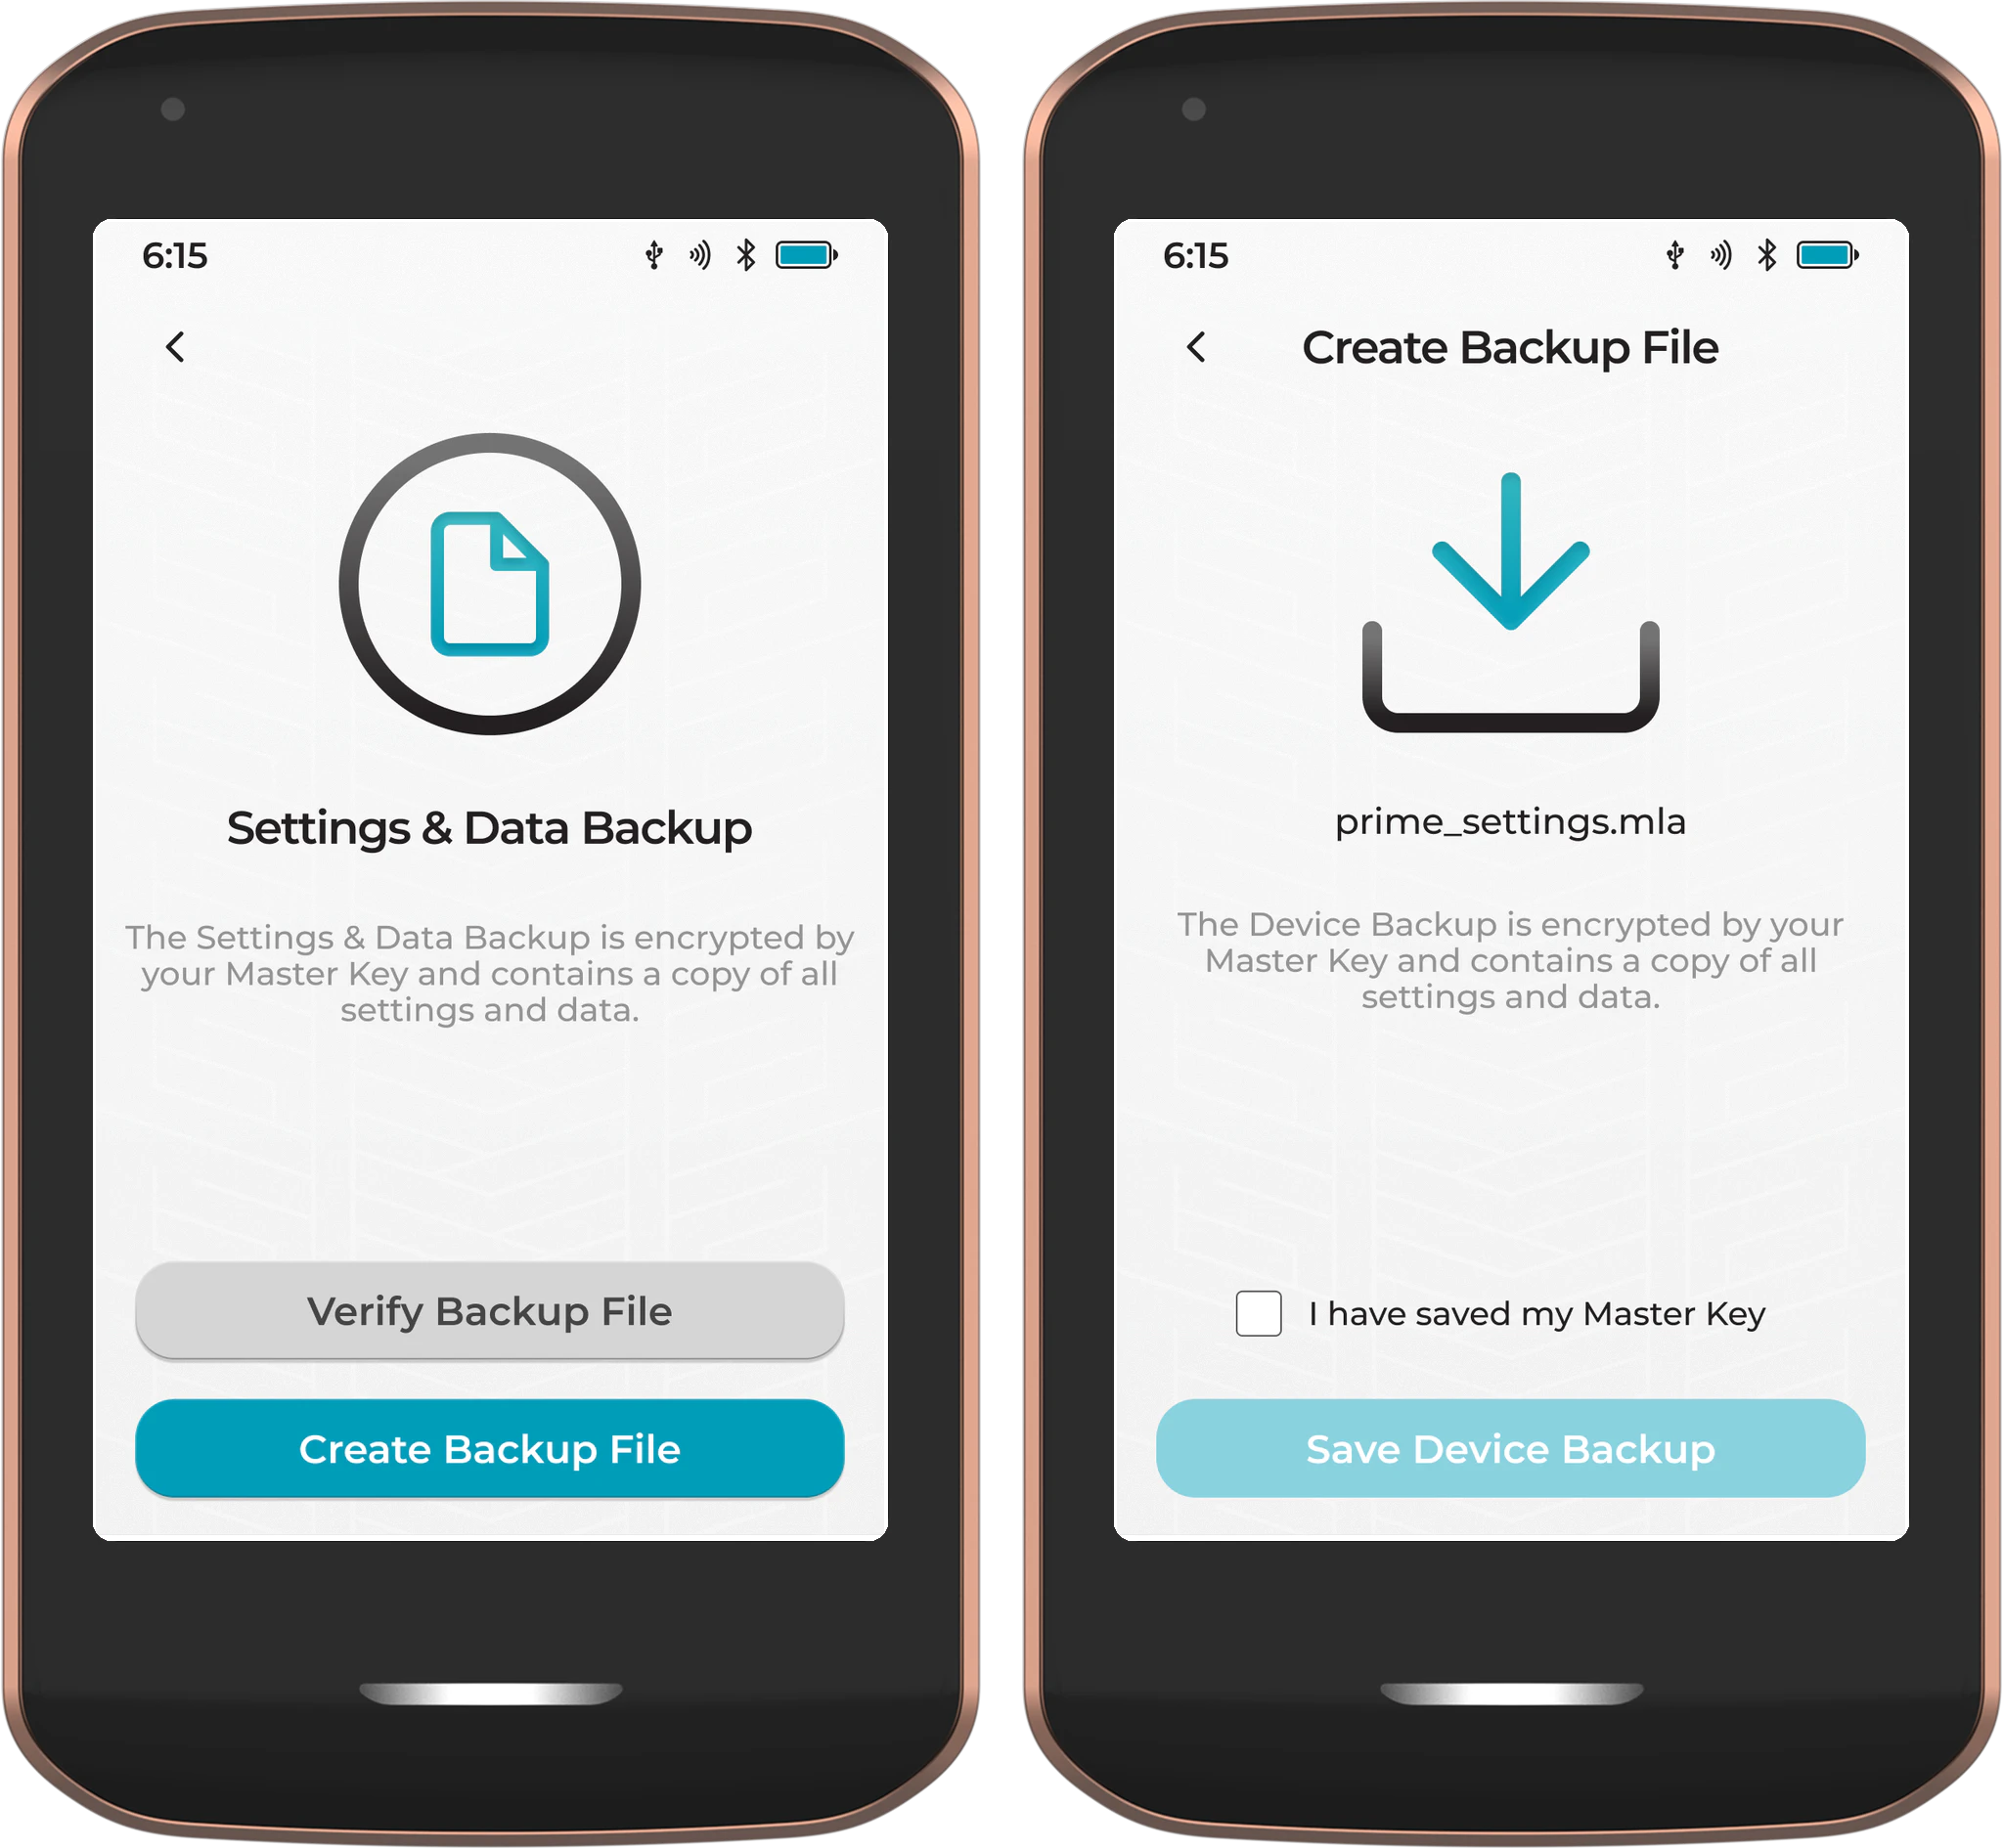
Confirm that you have saved your Master Key, then tap Save Device Backup. Choose your preferred storage location (eg a microSD card or USB thumb drive connected via USB-C) and the backup file will be saved.
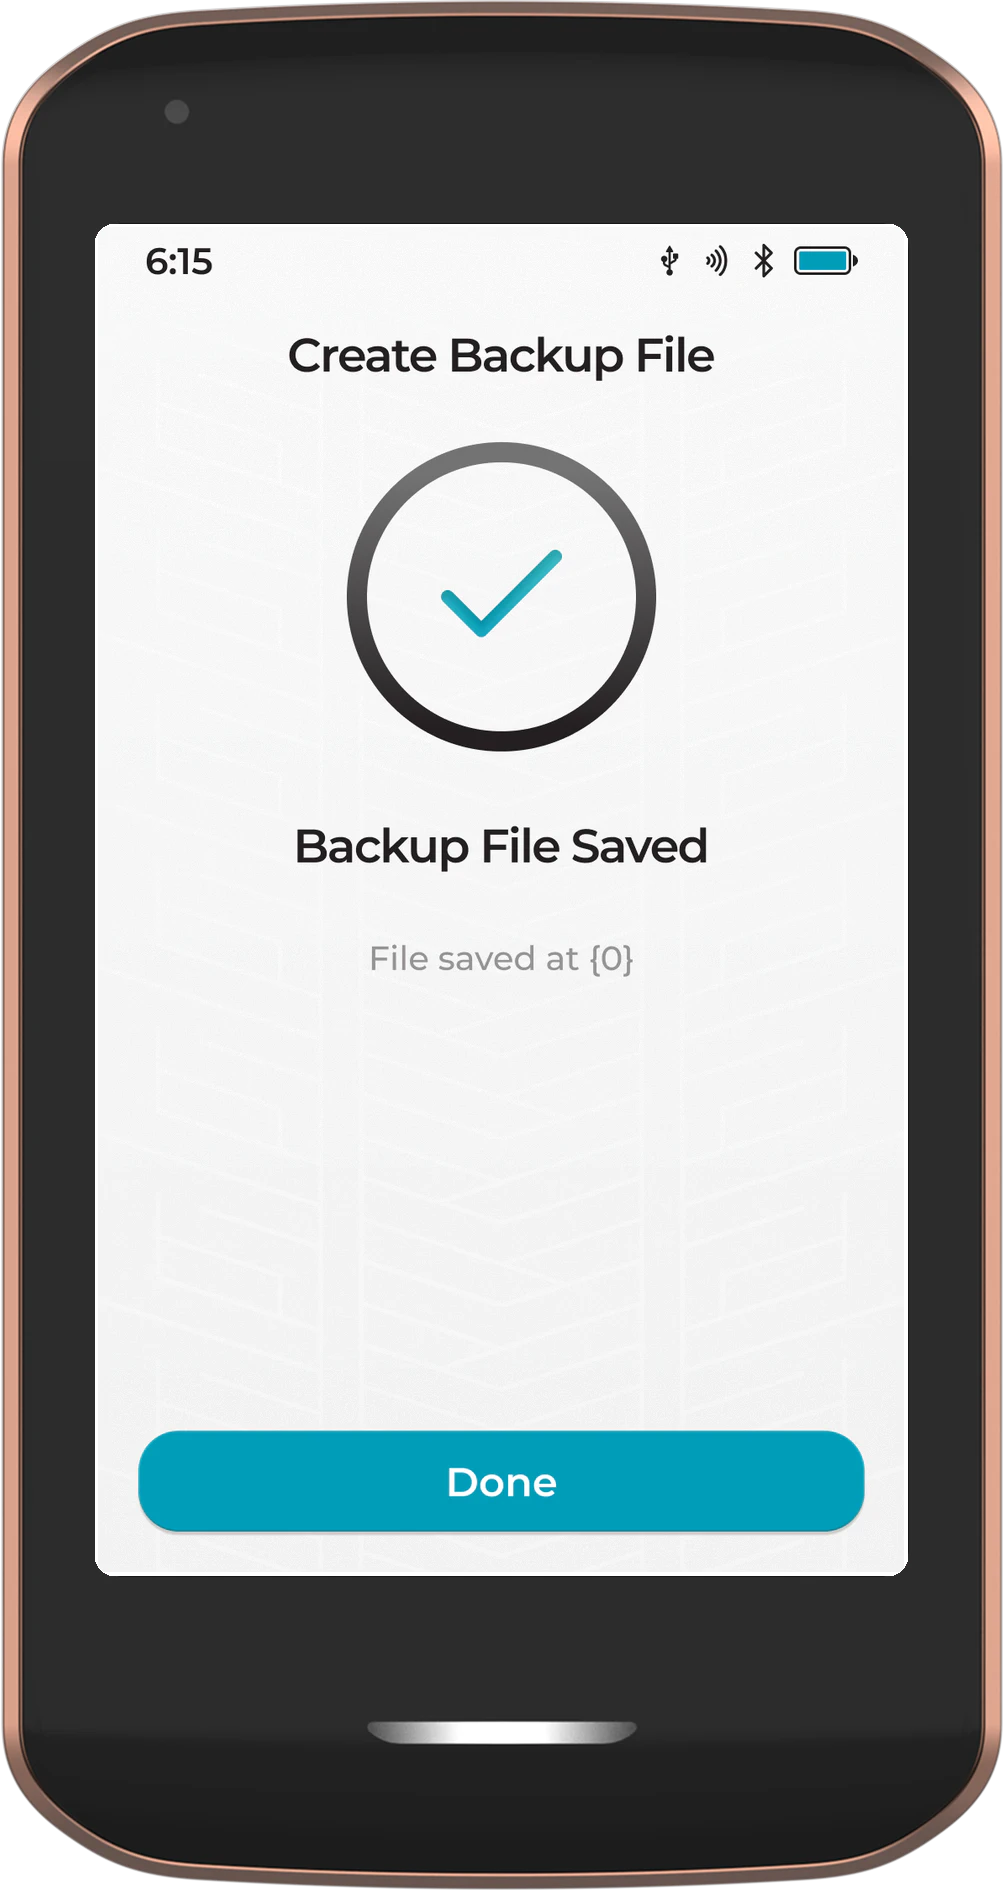
Once saved, Passport Prime will confirm the backup was successful.
We strongly recommend creating a Settings & Data backup after any significant changes to your Passport Prime, such as adding new accounts, installing apps, or updating settings. Store the backup file on an external storage medium outside of Passport Prime.
Now that you’ve set up Passport Prime and paired it securely to Envoy via QuantumLink, be sure to dive into the rest of our detailed documentation to get the most from your new device.
Want to learn more about Prime backups and recovery? Click here .
Stay tuned for more video tutorials featuring Passport Prime in the coming weeks and months!
Questions? Email us at hello@foundation.xyz